
There are three install options for VROps 6.4. Windows, Linux and the OVA. In this post we’ll look at the preferred OVA installation. The OVA can be considered as more secure (Effectively a black box that admins will be less tempted to modify) and performs better since it’s isolated from other 3rd party software.
- Download the OVA from http://my.vmware.com
- Login to the vSphere Web Client. We’re using vCenter Server (VCSA) 6.5 and ESXi 6.5 for this installation
- Launch the Deploy OVF Template wizard from a host or cluster
- Select the OVF downloaded earlier

- Specify the name & location for the vROps appliance

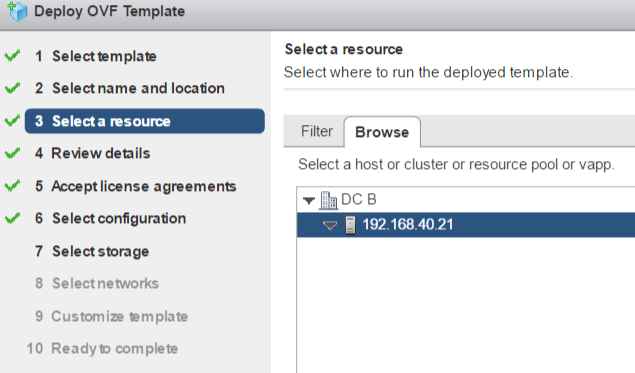
- Select the host for the appliance to run on
- Review the next 2 screens and accept the EULA
- The configuration type is important. If you select Extra Small, you will not be able to utilize the HA features of vROps

- Select the datastore

- Select the network for the vROps management interface

- Enter all the required network information. Ensure you have A and PTR records configured in DNS if you are specifying a hostname here

- Once deployment is finished, power on the VM. You can monitor the progress of the installation by watching the VMs console
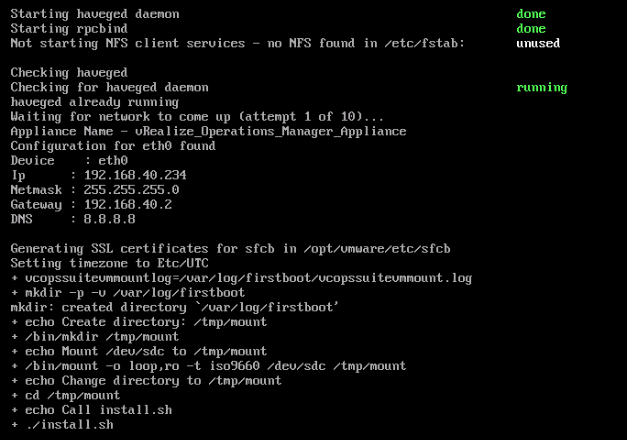
- Deployment complete!
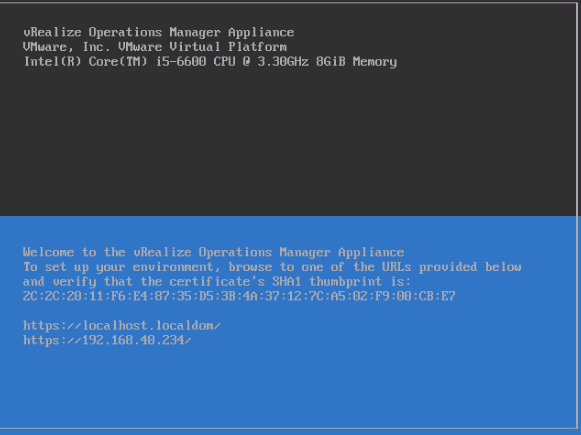
- Login to the Web UI: http://hostname-or-ip-of-appliance
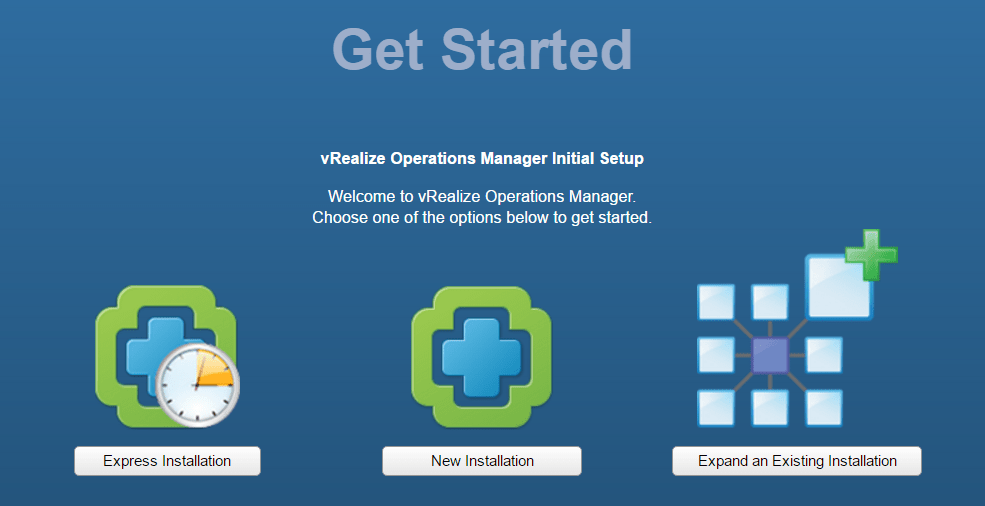
- In this example we are going to install a single node without HA
- Select New Installation
- Review the details & select Next
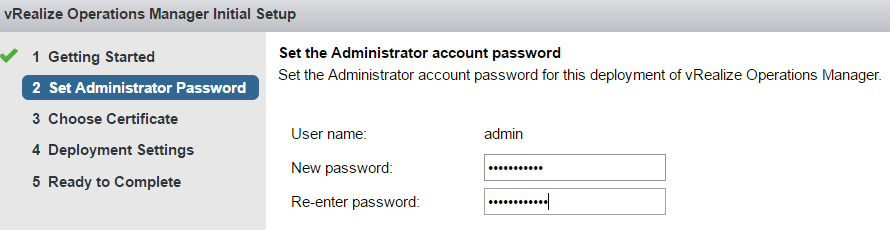
- Specify an admin password
- We’re just going to use the default certificates for this example but here is where you would upload your own certificate

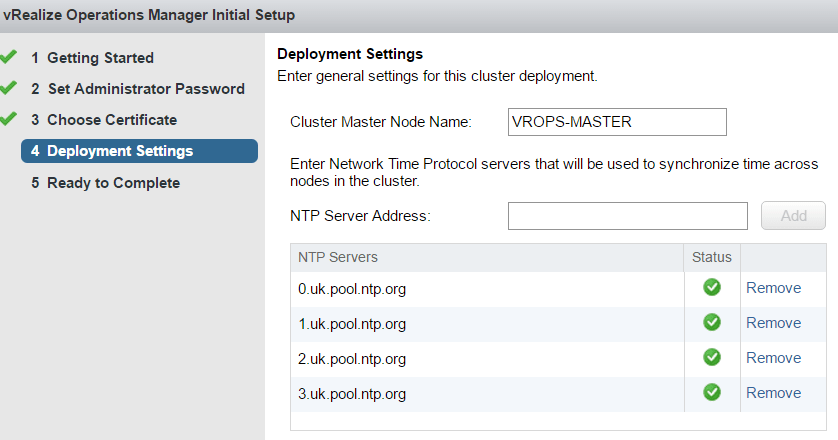
- Specify the master node name & NTP settings. Note that vROps will validate the NTP servers so ensure it has access over the network to them. You will not be able to skip this step if they don’t validate.
- Click next and finish to complete the installation
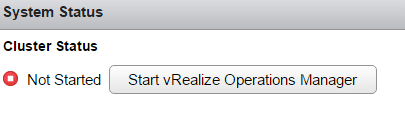
- Once the node has finished initializing, click “Start vRealize Operations Manager”
- It will take some time for vROps to go online
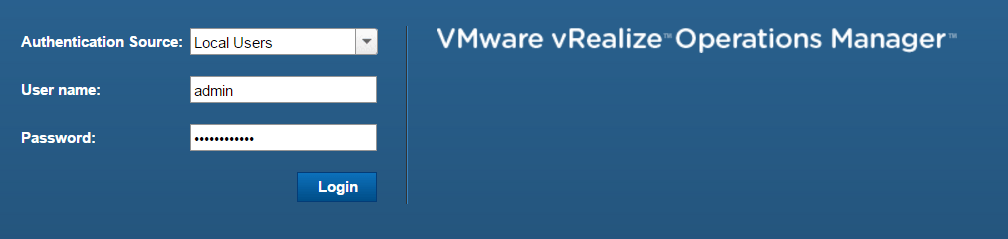
- Once vROps is ready you will be redirected to https://ip-or-hostname/ui
- If you need to go back to the administration UI, this is available on https://ip-or-hostname/admin
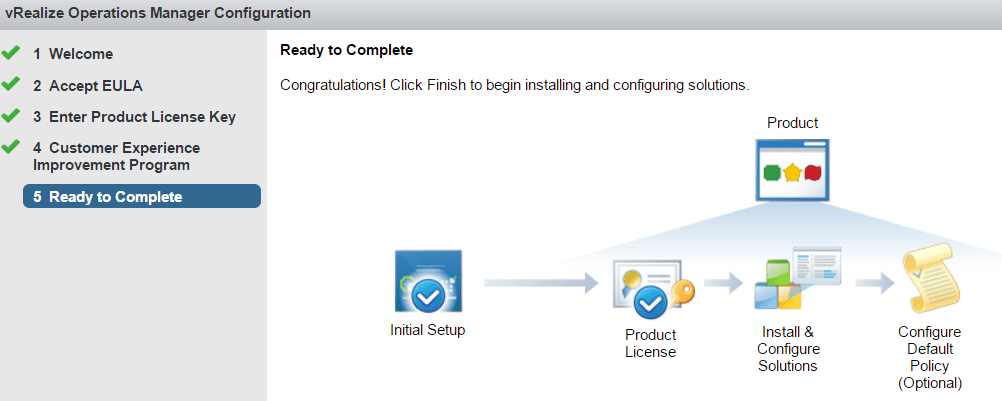
Finally, we need to run through the post-installation setup:

- Accept the EULA

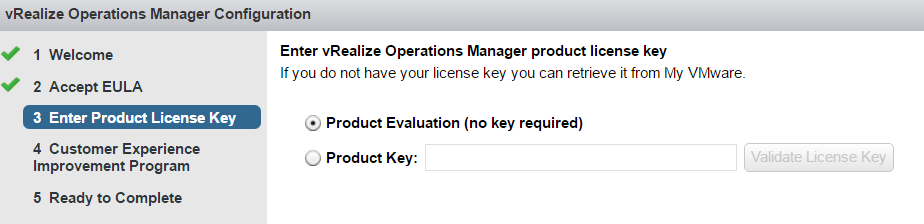
- Enter license key
- Join the CEIP

- Click finish to complete the install
add a comment