Contents
Earlier this week I posted about how to Migrate VMware Virtual Machines into AWS EC2 instances.
I had a lot of interest from this post (1000’s hits in the first 24 hours) and several people have asked me about migrating AWS EC2 Instances back to VMware Virtual Machines.
So here we are, the steps required to convert AWS EC2 instances to VMware Virtual Machines:
Pre-requisites
There are a few things to complete and consider before using this approach:
- We will be subject to AWS egress bandwidth charges for sending data out of AWS. You can use the AWS Pricing Calculator to estimate your Data Transfer out pricing.
- For licensing, if your AWS instance is using an AWS provided license, you will need to re-license the operating system and all applications on the instance that apples. Please seek advice from your Vendor on this for more information.
- You will need to temporarily add a volume to each EC2 instance that you are migrating out of AWS. This is explained later in the article, but for the pre-requisites, remember that you will incur AWS charges for this additional volume while it is in place (Which is unlikely to be very much, depending on the size of the volume and how long you need it for)
Downloading and Installing the migration tool
We will be using the VMware Converter Standalone tool for this process.
You need to download and install it onto your EC2 instance.
1.Download VMware Converter Standalone here at no cost (You will need a free VMware account to download)
2. On the EC2 instance that you want to migrate, install the VMware Converter software
3. The install is straightforward, so no screenshots here. All default options are fine.
4. Once you have finished installing, the client will load up automatically.
Preparing the migration volume
We will be converting the EC2 instance onto a new volume on the same Virtual Machines so we first need to create that new volume. It will need to be the size of all used space on all drives that you want to migrate.
For example, if you have 25GB used of the C drive and 100GB used of another drive, then you need a new volume adding with at least 125GB of space.
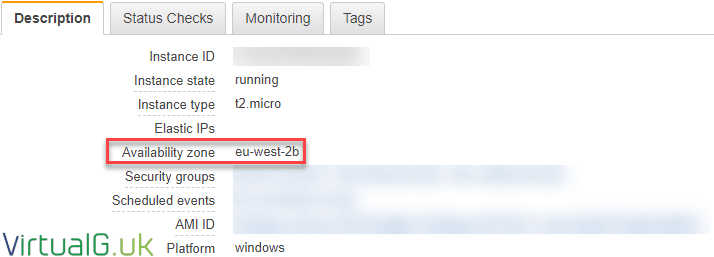
1. To add a new volume to an existing EC2 instance we need to find the availability zone that the instance is running in:
2. On your EC2 Instance page within AWS, select the Instance to migrate and open the description tab.
In the above screenshot, we can see that the Availability Zone is eu-west-2b
3. Open the Volumes page from the left pane under Elastic Block Store (EBS)
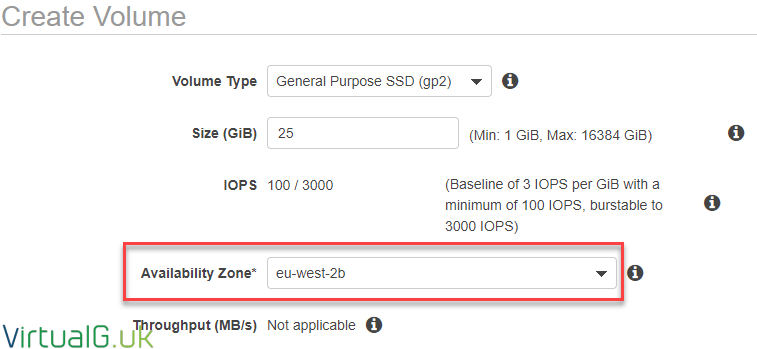
4. Select the “Create Volume” button
5. On this wizard, select your desired storage type (Bearing in mind this volume is temporary)
6. Change the size to the size required (As discussed in the pre-requisites)
7. Finally, use the dropdown to select the correct Availability Zone
Now that the volume is created we need to attach it to the EC2 instance
8. Refresh the Volumes page and select the volume we just created. The state should show as “Available”
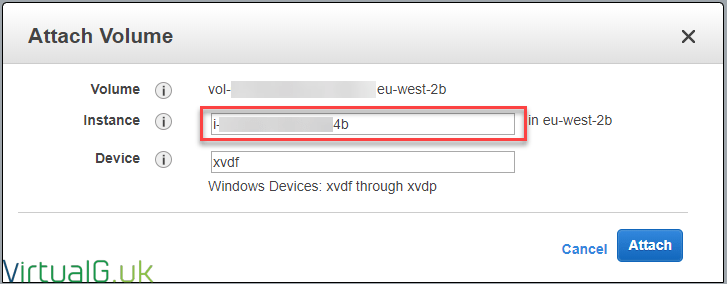
9. Use the Actions dropdown and select Attach Volume
10. Find the correct instance to attach the volume to and hit Attach
11. Once the volume is attached, log back into your Virtual Machine
12. For a Windows instance, we need to open up the Disk Management Console
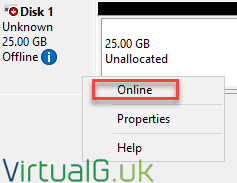
13. Right-click the new disk and select online
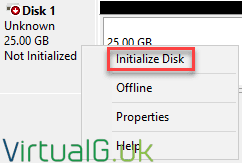
14. Right-click again and select Initialize
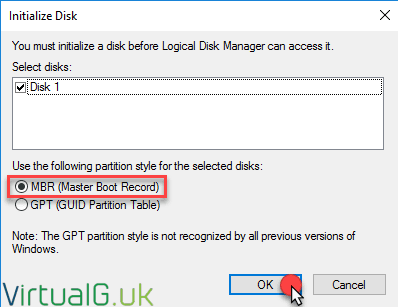
15. Selecting OK to the Initialize Disk window is ideal for most environments unless you need to change the partition type for some reason.
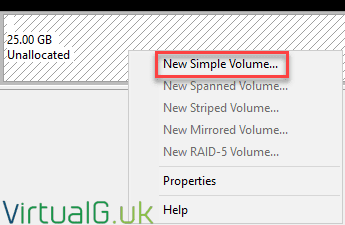
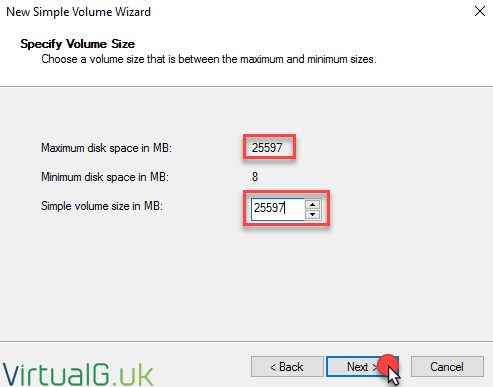
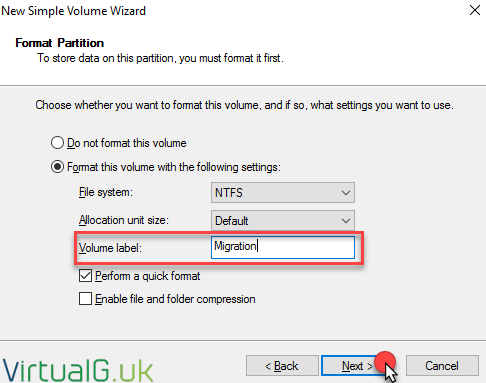
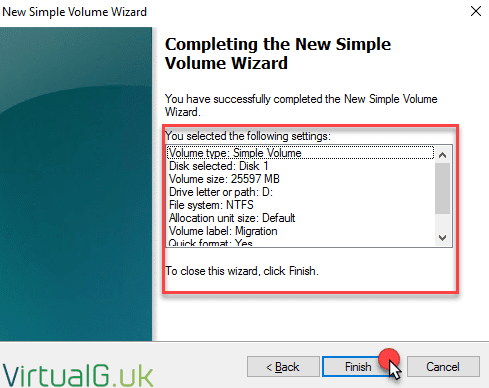
16. Right-Click the unallocated space and create a new volume with all remaining space.
That’s the new volume ready to go
Configuring the migration job
Now we have a volume to store the copy of the EC2 instance, we can proceed onto setting up the migration job.
There are a few ways to do this. The simplest is to copy the EC2 instance onto the migration volume and import the clone into VMware vSphere or VMware Workstation.
NOTE: As we are cloning the instance in a live, powered-on state, ensure there are no users connected or services running for any applications of databases of interest to you. This will help preserve the state of the instance during the migration phase and help prevent data loss and corruption.
1.Open the Converter tool on the instance you want to migrate
2. Select Convert Machine
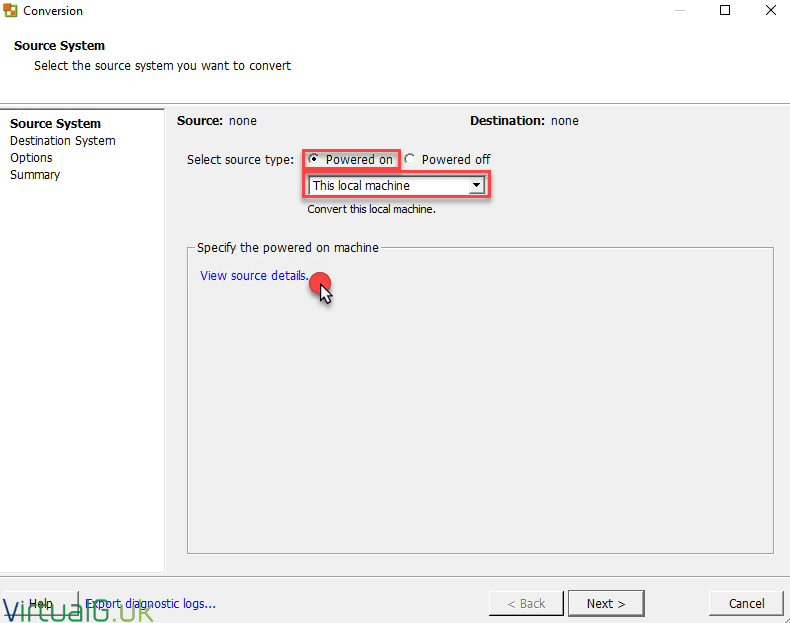
3. Change source type to “Powered On” and “This local machine”
Select View source details and verify that this is the correct machine to migrate
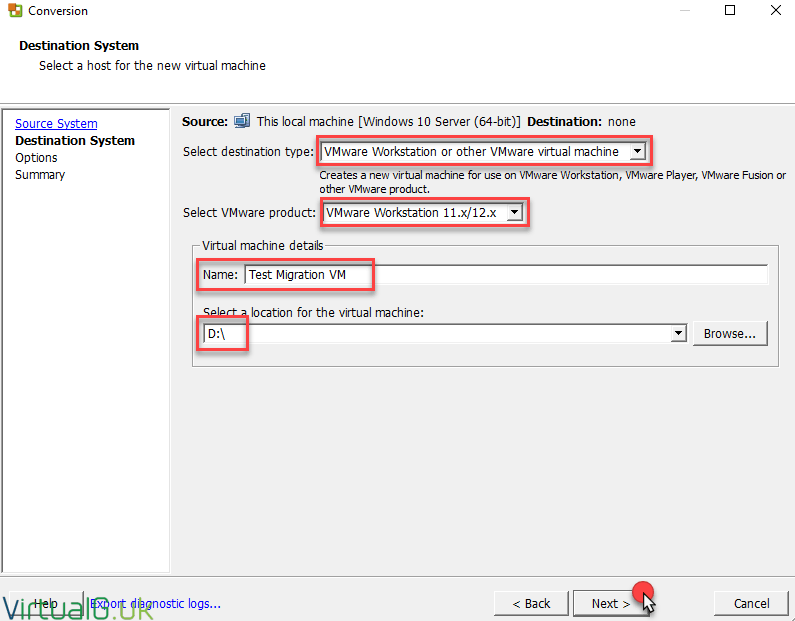
4. After selecting Next, we want to change the destination type to “VMware Workstation or other VMware virtual machine”
5. Change the VMware product to the latest version of workstation that is supported and give the VM a display name.
6. For the location, specify the root of the new migration volume which we created earlier
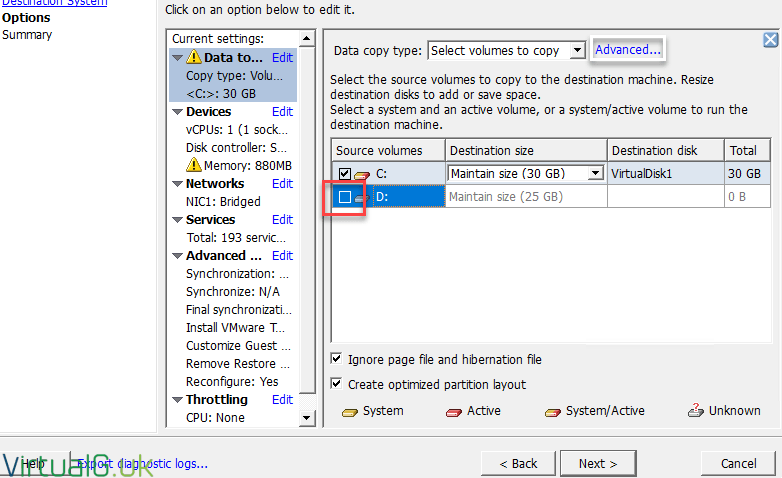
7. On the next screen, select Edit next to “Data to copy”
8. Exclude the migration drive and any other drives you do not wish to migrate.
While in this view, modify any advanced settings. This enabled you to change volume sizes etc.
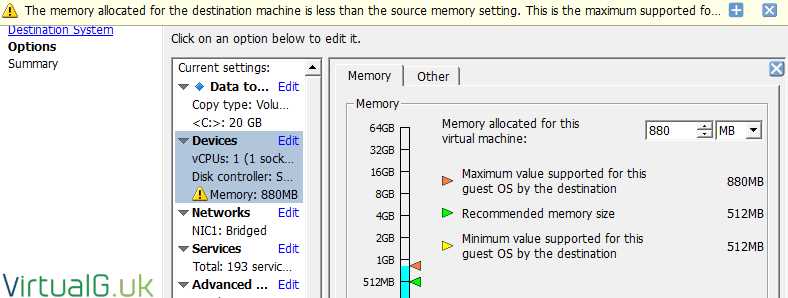
You will also want to attend to any warnings. In the screenshot above, there is a memory warning. By selecting it, it will give the error message.
I simply modify the memory slider to resolve the error message
9. Be sure to modify any Network and advanced options, including installing VMware tools if required.
10. Finally, I would suggest looking at the services section and selecting the stop checkbox for any services you wish to stop before the final sync phase of the migration (Which we discussed earlier)
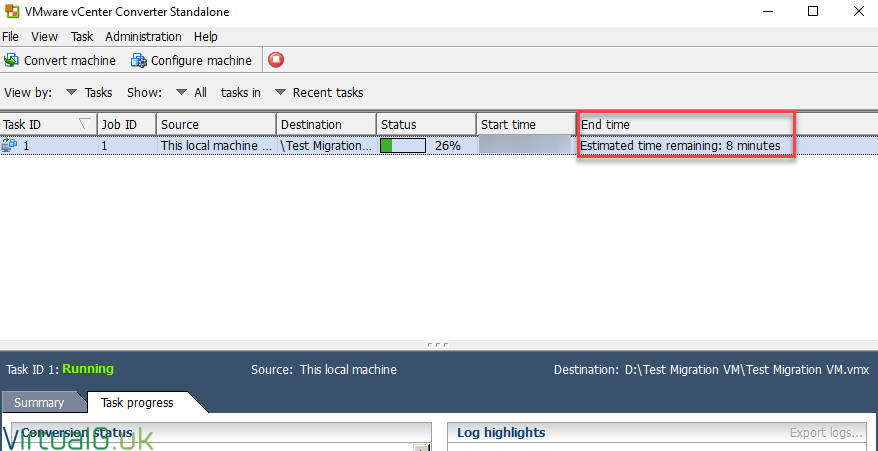
11. Select Next and Finish (This will start the migration process immediately)
What’s going on under the hood?
The converter software is simply cloning the instance into a familiar VMware Virtual Machine format, onto the migration volume.
Here you can see in the destination folder, the standard VMware files that make up a newly created Virtual Machine:
Importing the Migration files to your vCenter Server
1. If you have a site to site VPN setup between the EC2 instance you want to migrate and your production environment, you can simply share the migration files and copy them locally to your machine.
2. If this isn’t the case, you can upload the files to a secure FTP site or find another secure, external way to upload and then download the files to your local machine. If you are feeling lucky, you can copy them over RDP, but this is likely to take a very long time since RDP isn’t an efficient file transfer protocol.
3. Once you have the files locally, you can upload them to a datastore via your vCenter Server and import them into your Inventory.
4. If you are using Workstation instead of vCenter Server, you can also import them via the Workstation > File > Open option (Search for the .VMX file)
Don’t forget about your licensing agreements and ensure you don’t use any AWS licenses on-prem.
If you are looking to migrate VMware VMs into AWS, check out my earlier post: Migrating VMware VMs to AWS – A to Z (Zero Cost)


