This post is part of my vSphere 7.0 installation guides. As with ESXi 7.0, there is virtually no difference between installing VCSA 6.7 and 7.0. However, since I was going through it anyway in my lab, I thought I’d take the screenshots and put them into a quick post. (Afterall, sometimes we like to see the steps before installing the software yourself)
You can also follow this guide via my YouTube video:
Here is how to install VMware vCenter Server 7.0 (or VCSA 7.0)
- First, download the VCSA installation media from your https://my.vmware.com account.
- Next, mount the ISO on your local machine – In this example, I have mounted it to the E: drive.
- Depending on your OS, you can launch the installer. For my Windows machine, this is simply at: E:\vcsa-ui-installer\win32\installer.exe
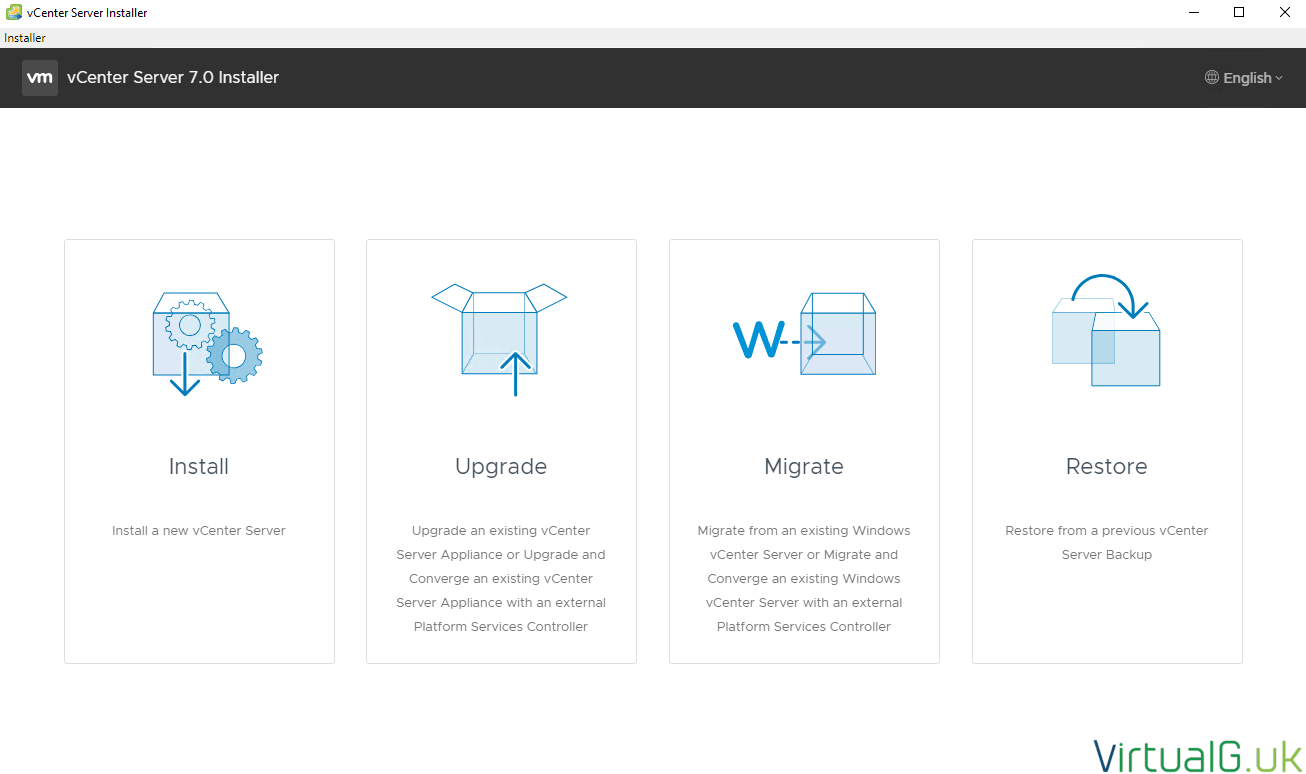
The installer will launch. Select Install:
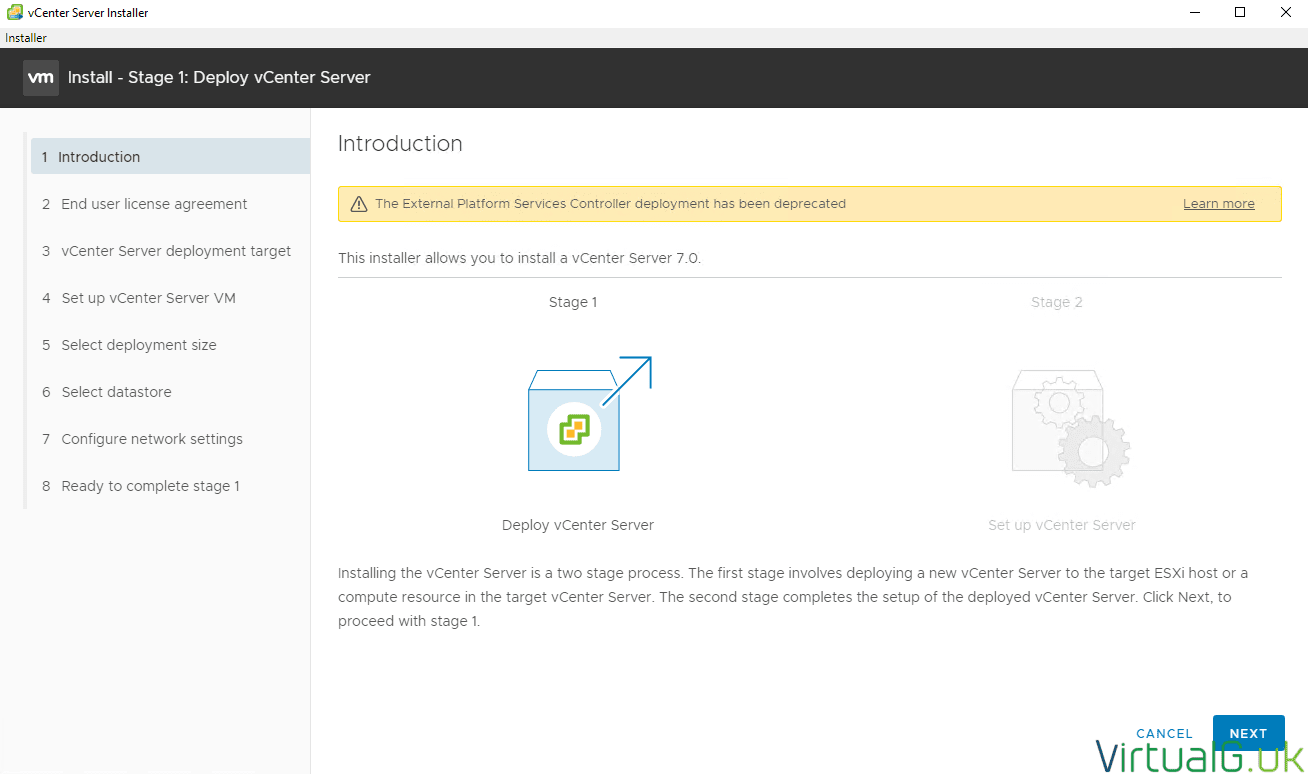
Note that the External PSC is no longer available. Select Next to acknowledge:
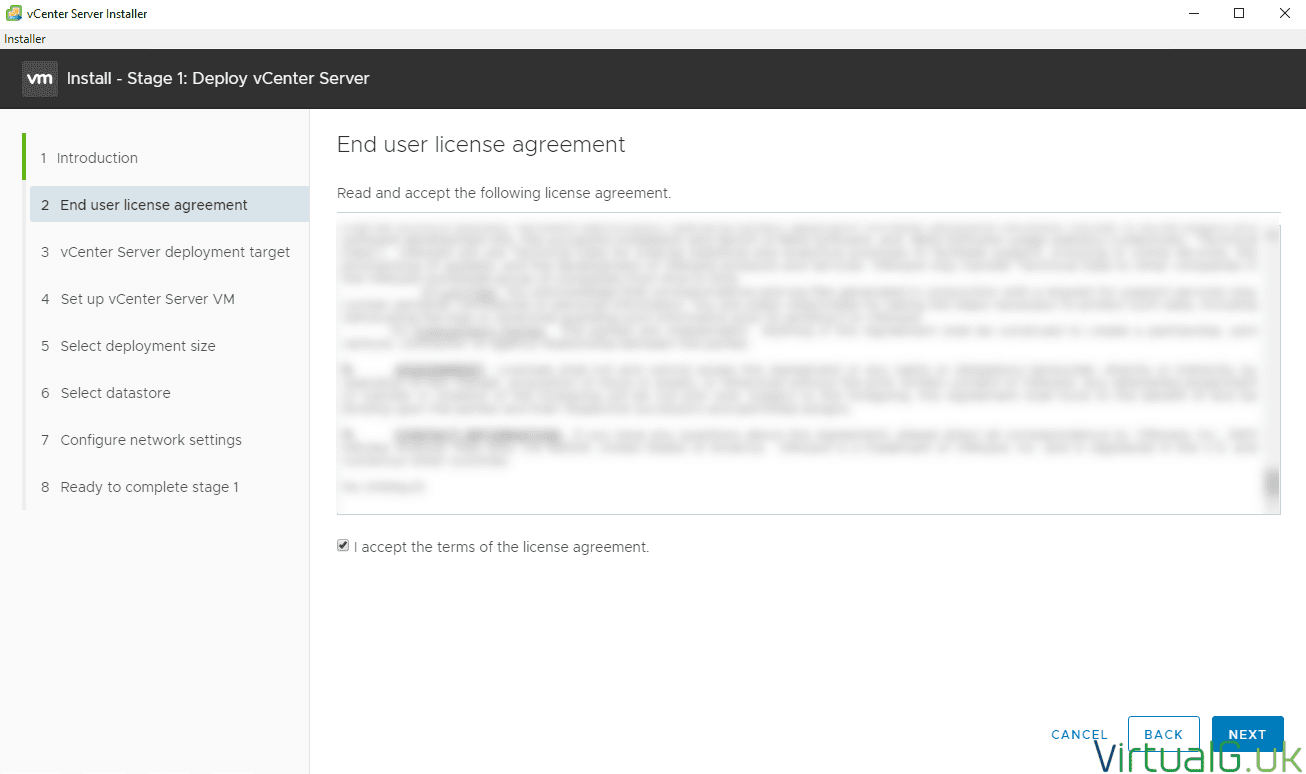
Accept the EULA and hit Next:
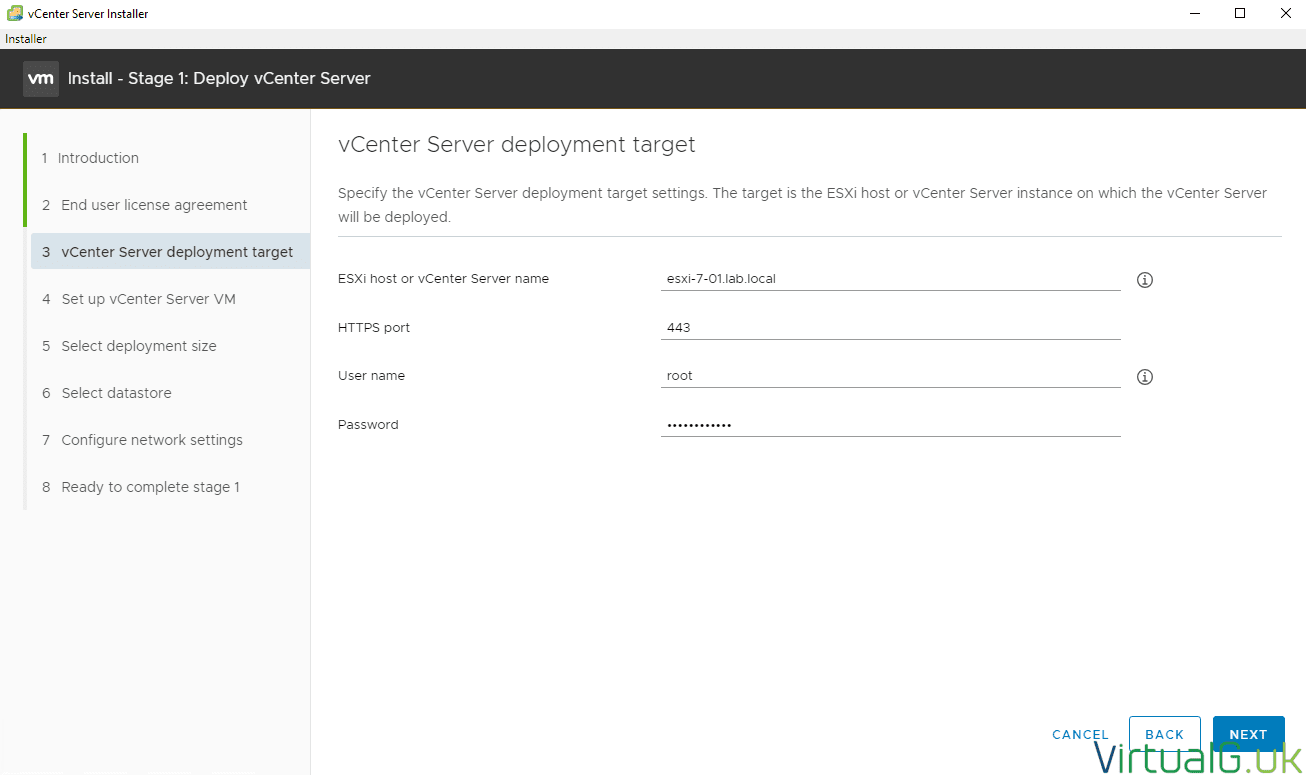
Enter the details of an existing vCenter Server or ESXi server to deploy the VCSA VM to:
Verify and accept any SSL warnings if prompted.
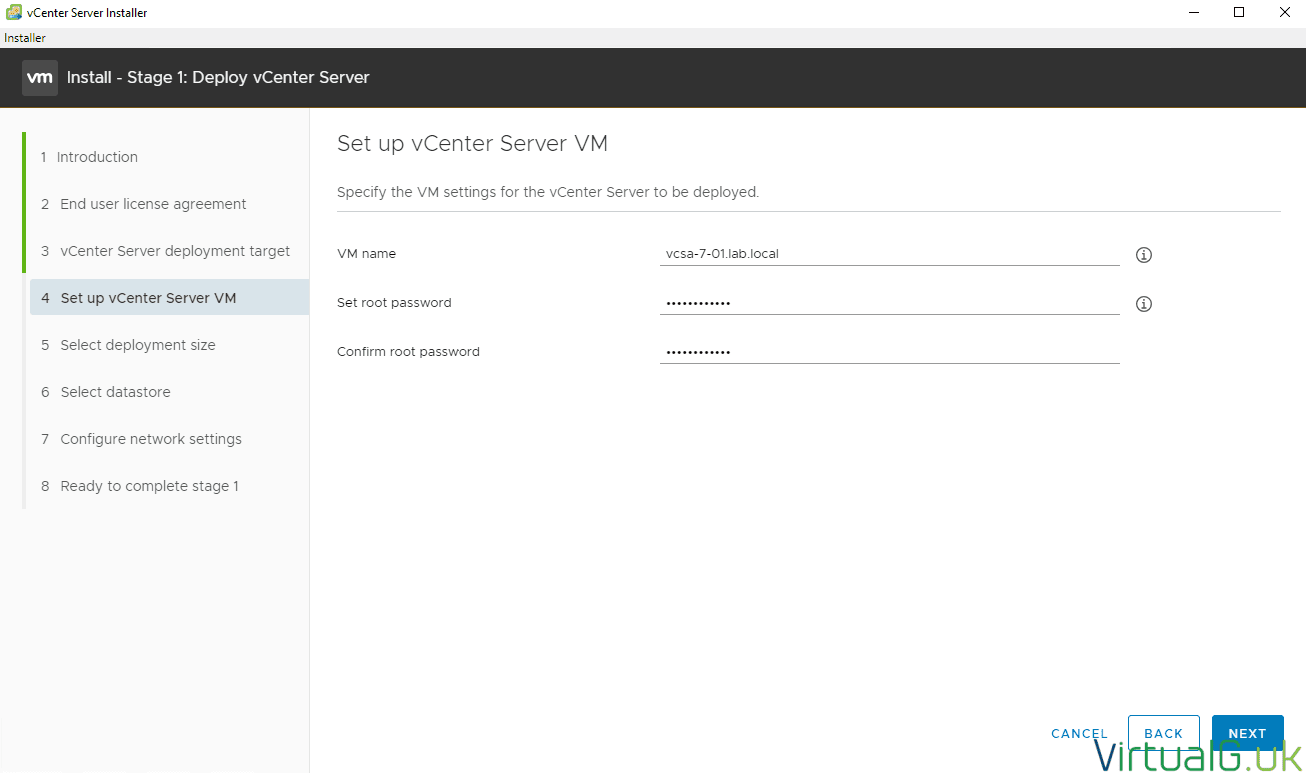
Enter the name of the VCSA VM (This is the display name of the VM) and the root password:
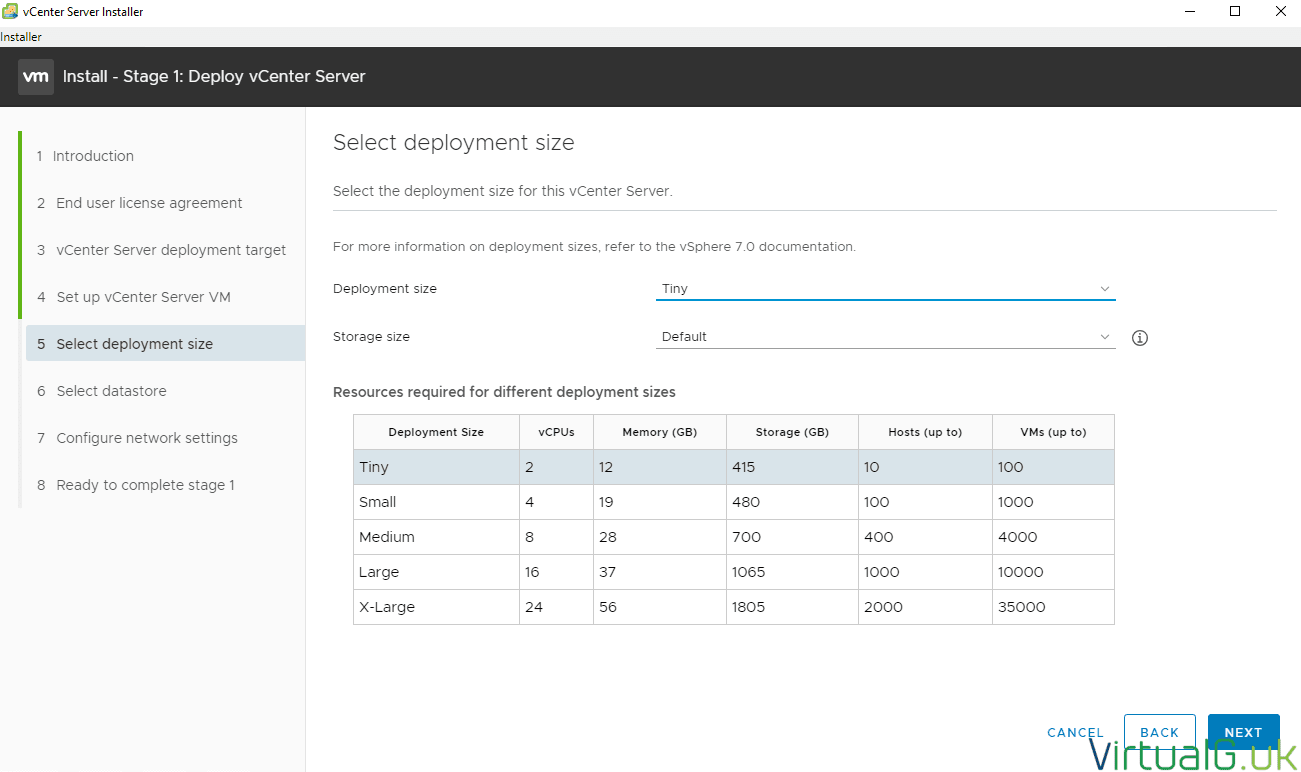
Select an appropriate deployment and storage size, using the table below. (If your environment grows, this can be changed later)
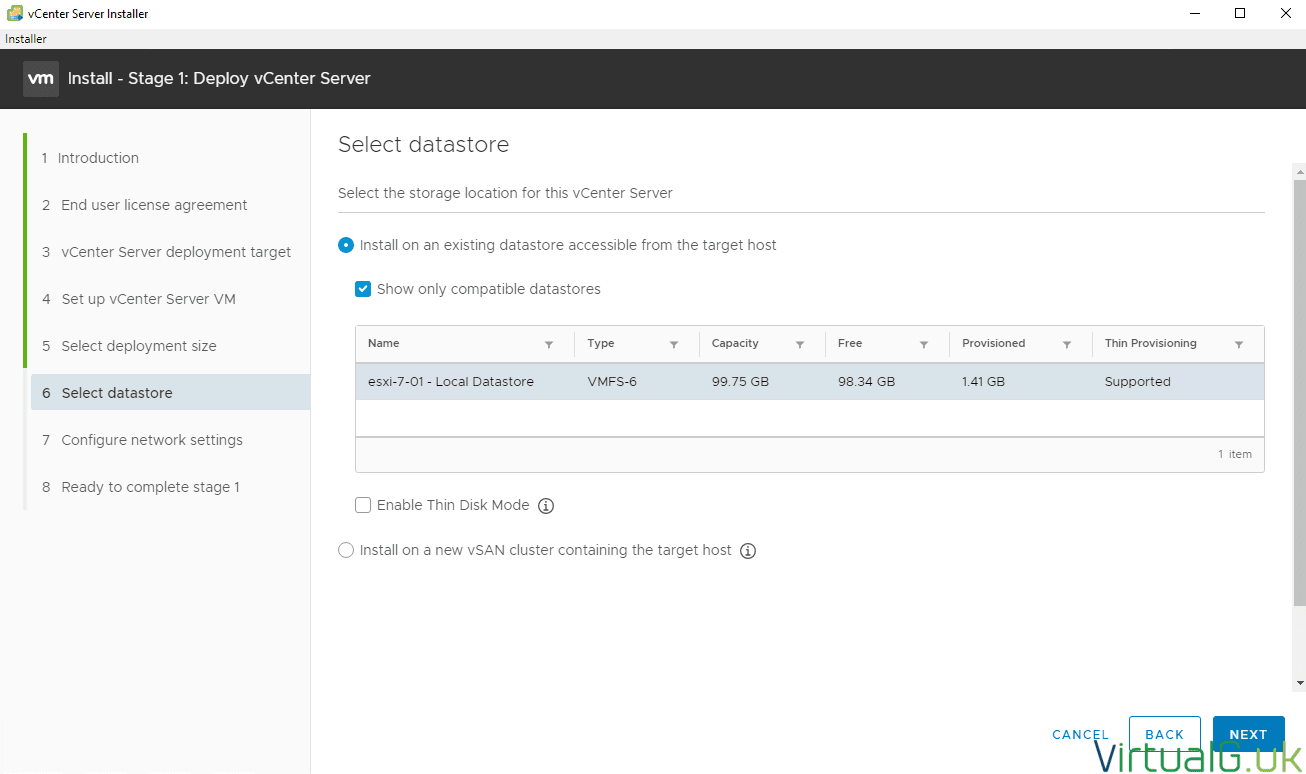
Select an appropriate datastore to deploy the VCSA onto. Ensure there is enough free space. Toggle the “Enable Thin Disk Mode” option, as per your company policy:
This next section required the networking information for the VCSA. It’s incredibly important that the DNS setting is correct.
Before completing this step, add the new hostname of the VCSA into your DNS system (A and PTR record)
Ensure your local machine can resolve the proposed FQDN before going any further.
Enter all the required information, hover over the informational circles for more information on those fields (some of this information is important if you are (for example), trying to install on an IPv6 network)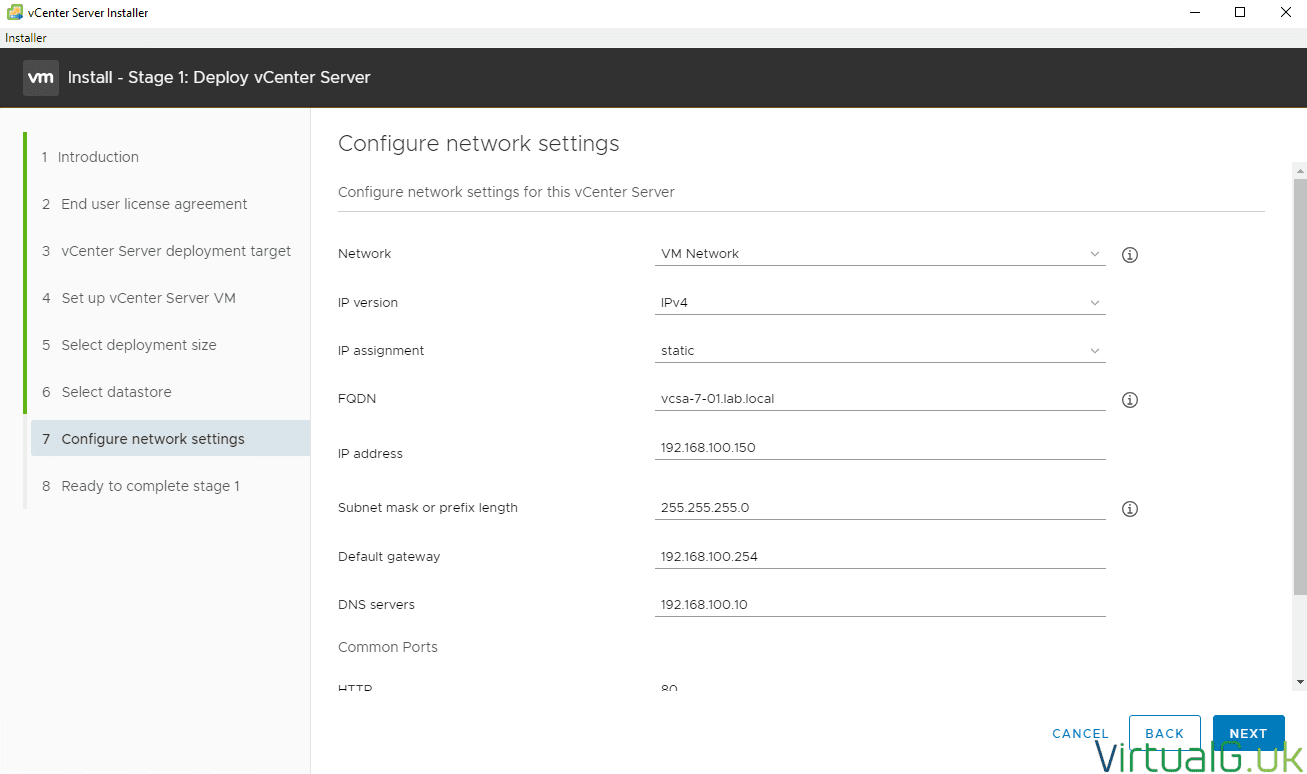
Select Next, review the configuration and proceed.
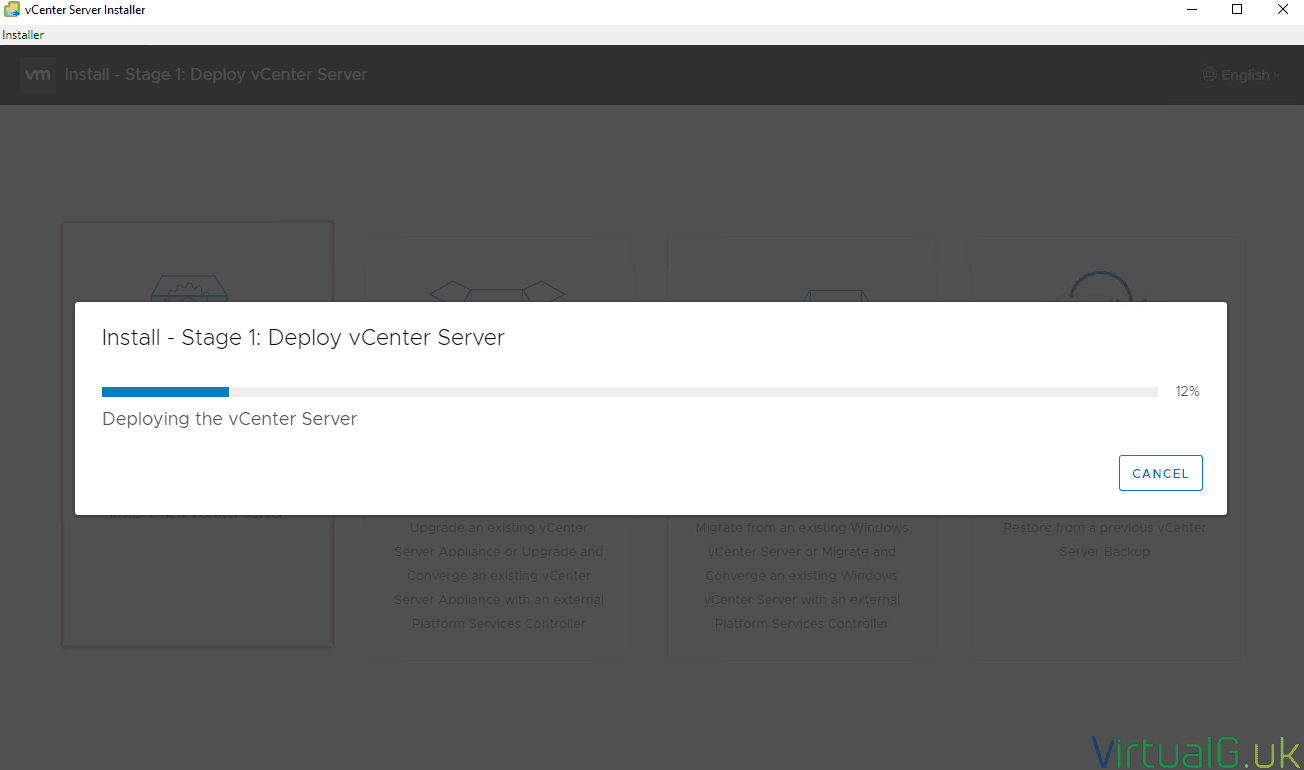
The VCSA will start deploying to the ESXi, datastore and network which you specified earlier
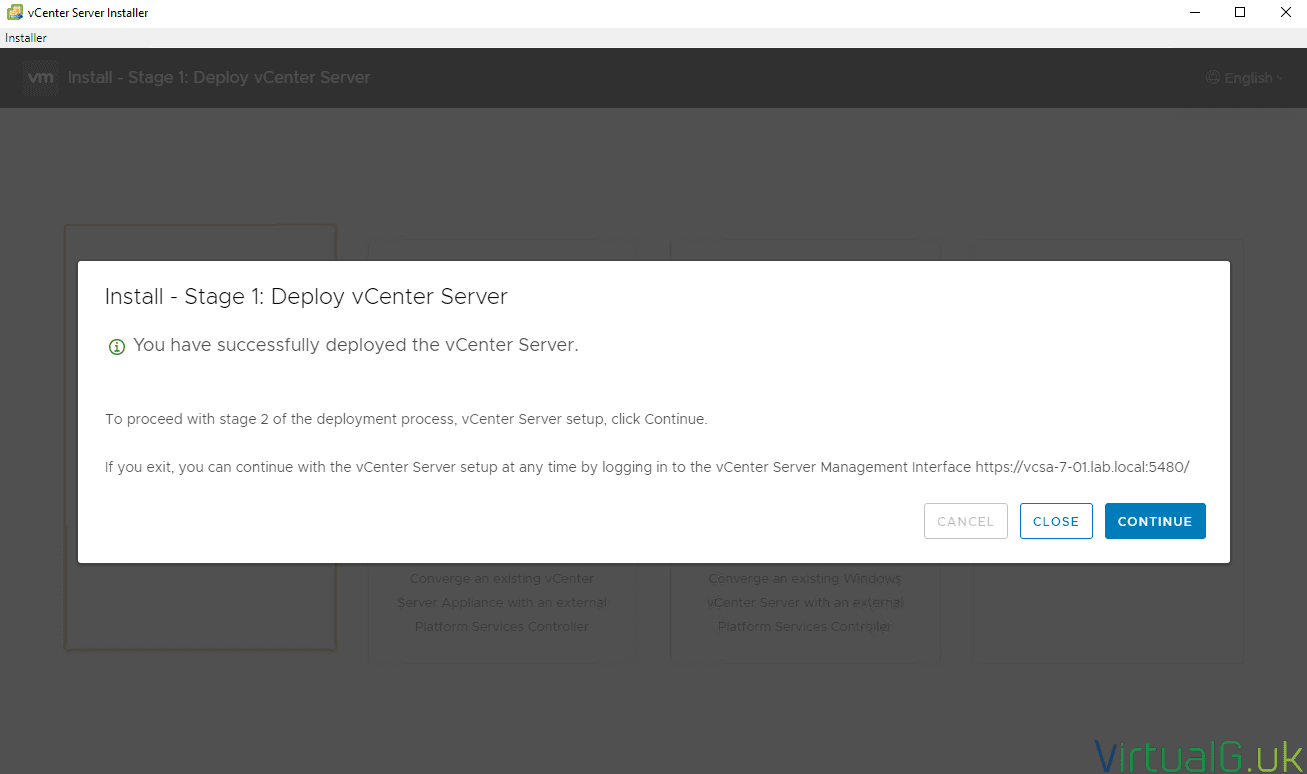
Once stage 1 completes, you will see the following screen. Hit continue to …. continue!
On the last screen it was noted that if you close the installer, you can go right back to it via connecting to the VCSA FQDN on port 5480 (via your web browser)
In this example, we’ll just hit continue:
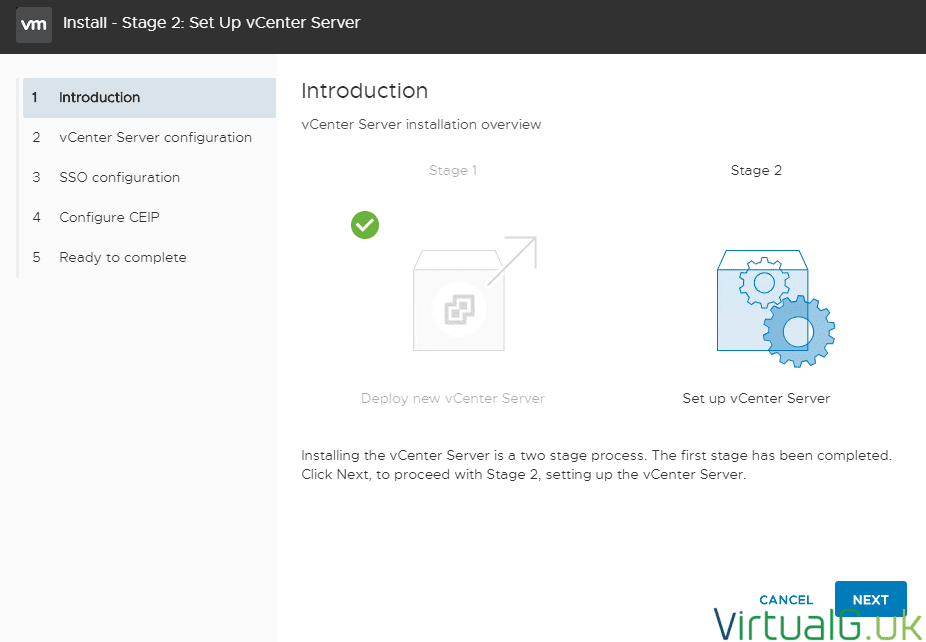
So with Stage 1 out of the way, we need to complete the setup (Stage 2) Hit next to continue:
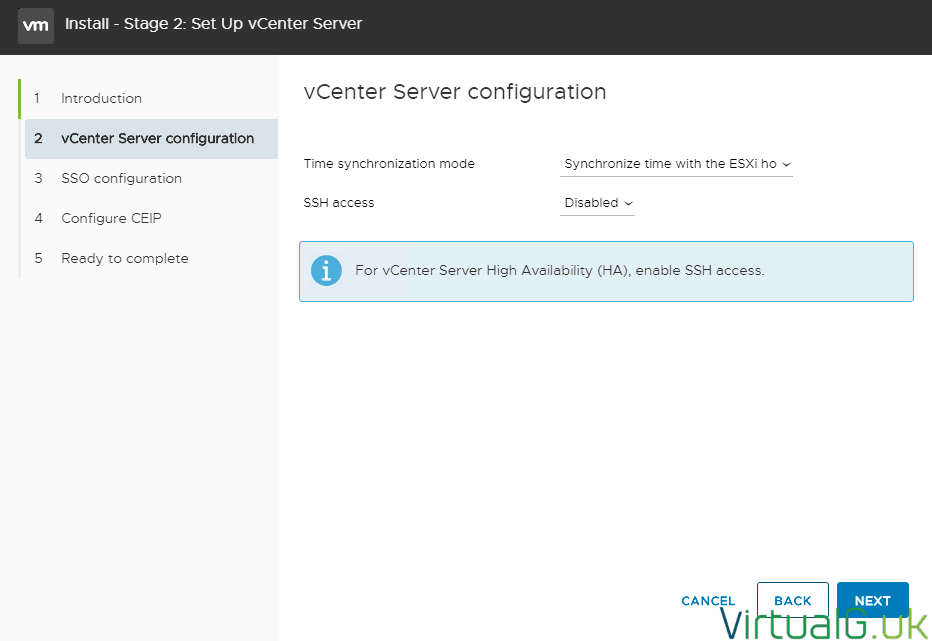
Here you can specify to sync NTP with the host which the VCSA is running on, or set your own NTP servers here.
SSH can also be enabled or disabled here.
For the example, I’m going with the defaults:
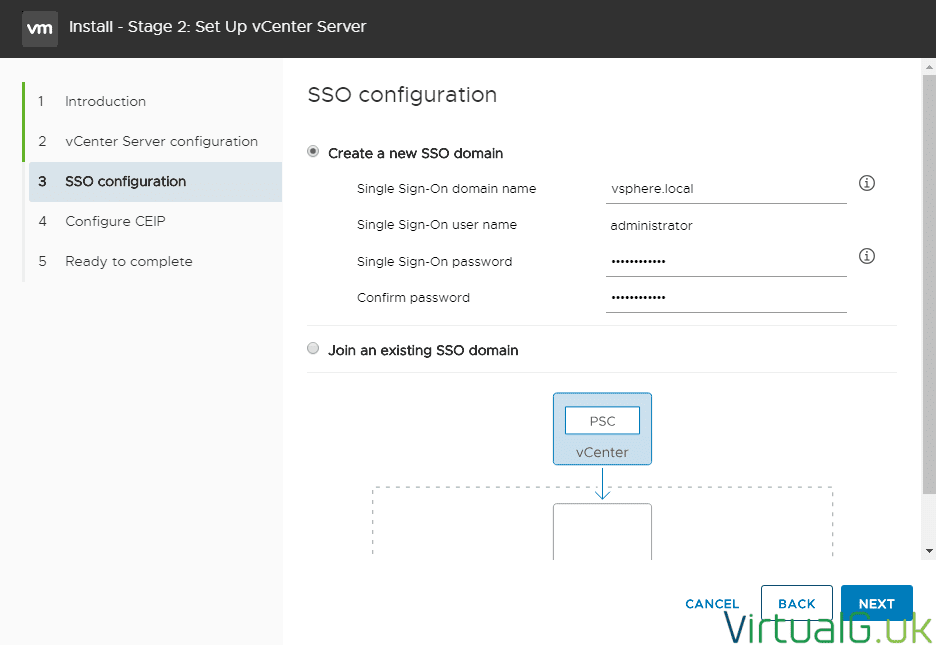
Since this VCSA is going to be part of a brand new site, I’m opting to create a new SSOP domain, however, if you required embedded linked mode this is your time to join the new VCSA to an existing SSO domain.
In the past, your SSO domain name could not be the same as your Windows domain name but there is no mention of this in the UI, so I’m going to take precaution and use something other than my Windows domain name (the default the people tend to go for is vsphere.local)
Enter all required information and hit Next:
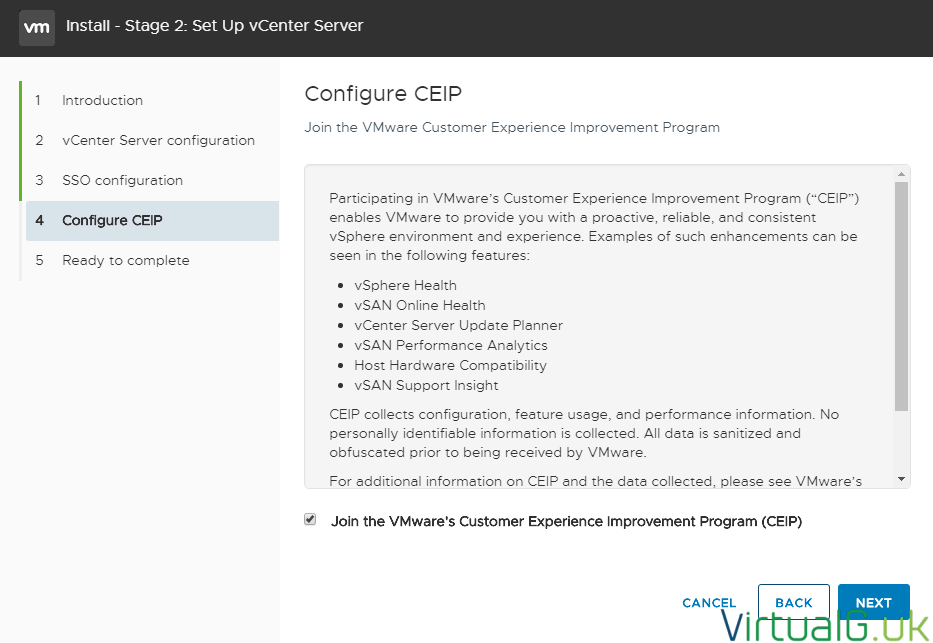
Historically there was no noticeable benefit to joining the CEIP, however, I have started enabling it recently especially for vSAN environments because the sanitized data which is uploaded to VMware assists greatly with your support cases (Service Requests)
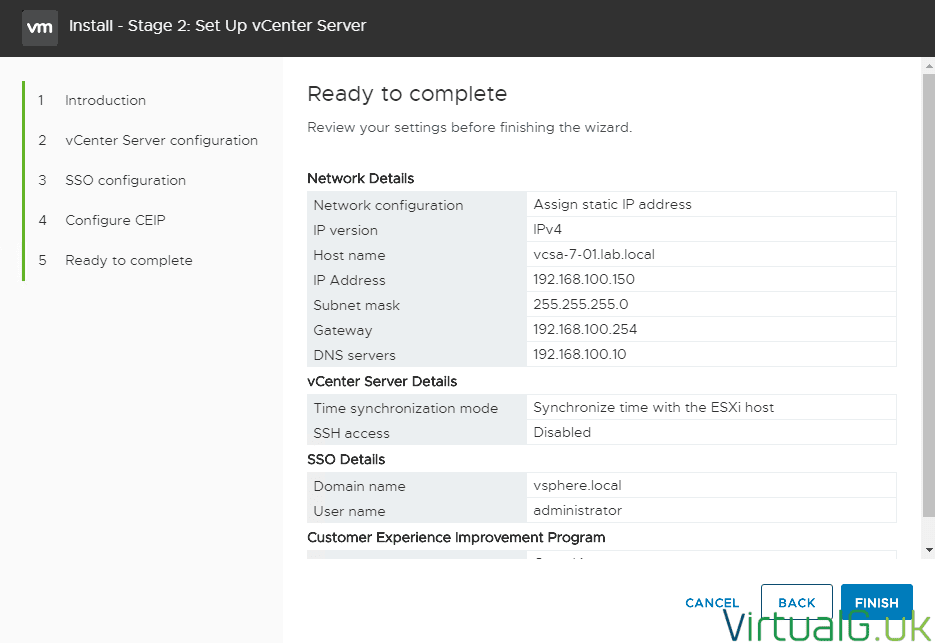
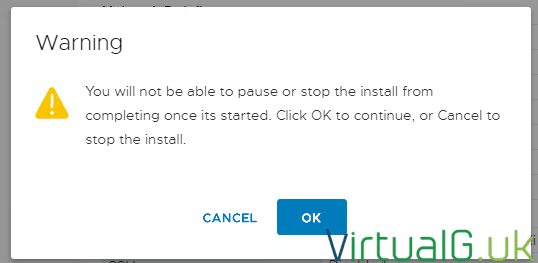
To complete the installation, simply review the summary and hit Finish and acknowledge the final warning regarding being unable to stop the deployment:
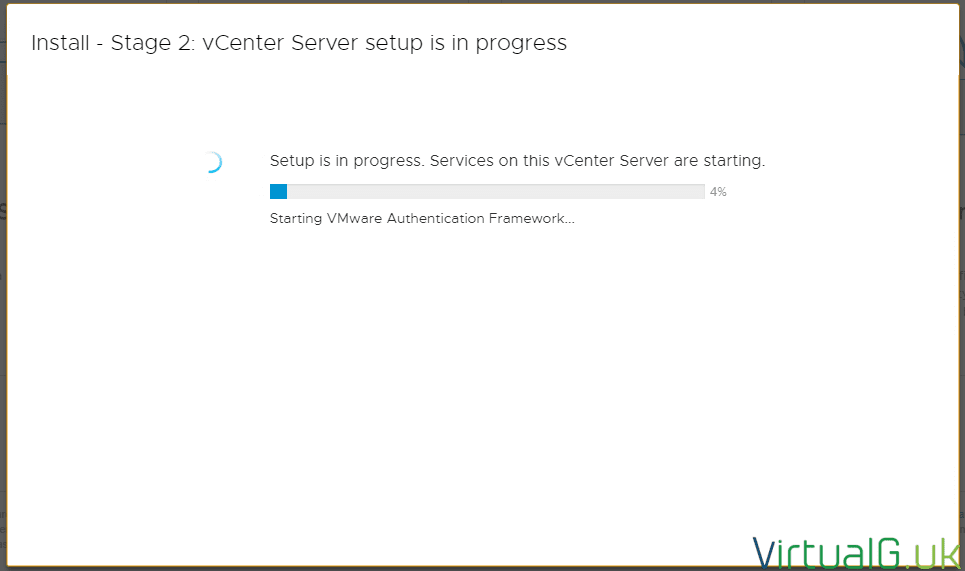
You can monitor the progress from the UI:
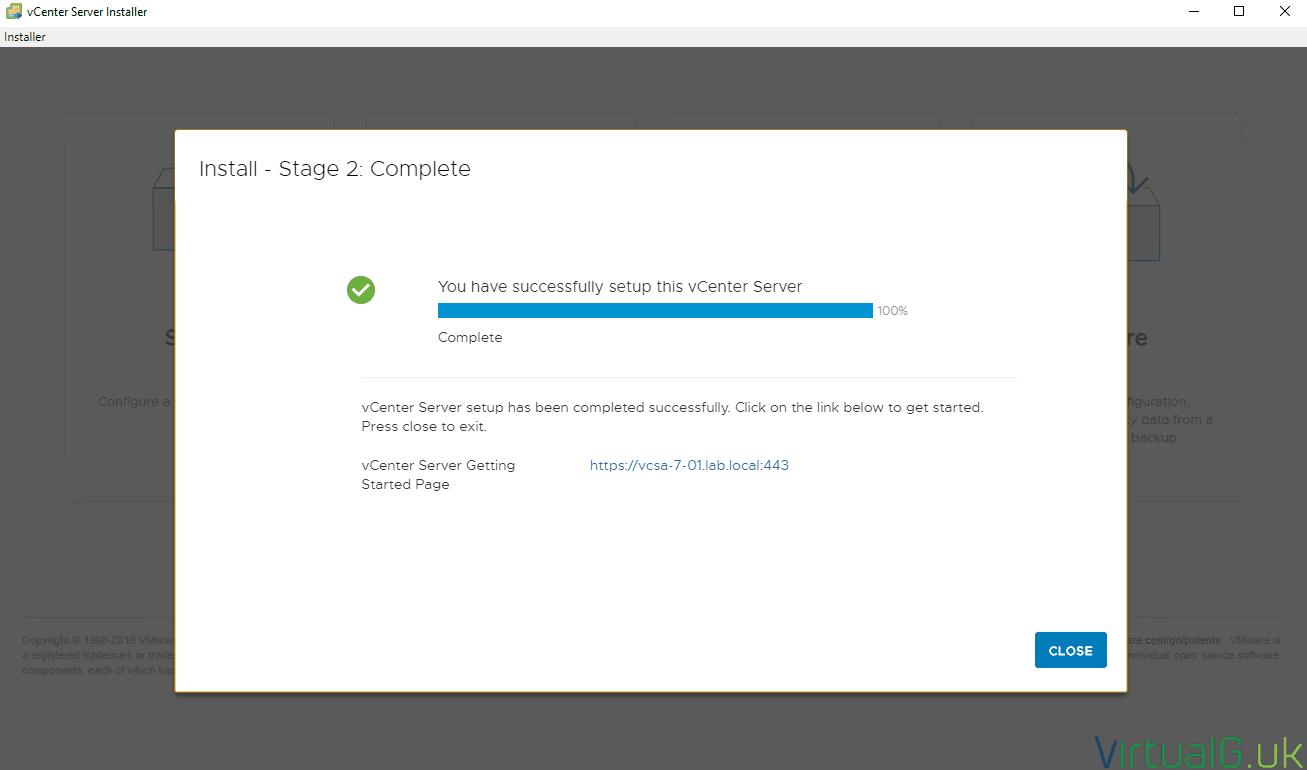
Upon completion, you will see the final screen.
Just navigate to the URL as displayed to login to the VCSA and to start creating your Datacenter, clusters and adding your hosts.
It’s not immediately obvious what’s new in the vCenter Server / VCSA UI but be sure to look around and read the other articles on this blog for in-depth information such as: Top 5 Features of vSphere 7.0





It is very nice to know and increase your knowledge