Contents
vROps 8.1 introduces improved native Cloud monitoring and management with:
- VMware Cloud on AWS
- Amazon AWS
- Google Cloud Platform
- Microsoft Azure
You can read more about the enhancements that come with vRealize Operations Manager 8.1 in my last post: vRealize Operations Manager (vROps) 8.1 – A True Multi-Cloud Management Platform
In this post, we will explore the integration between vROps 8.1 and AWS’s Core services
AWS Integration with VMware Operations Manager 8.1
When you log in to the vROps UI, you’ll see under Administration > Solutions > Repository that there are Native Management packs for the monitoring of many solutions.
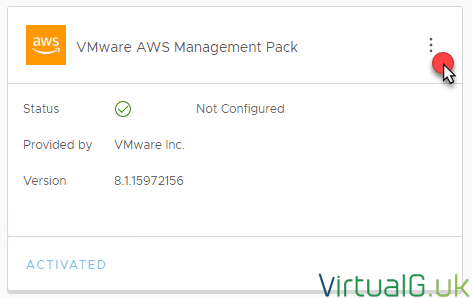
The one we are looking at today is called the VMware AWS Management Pack
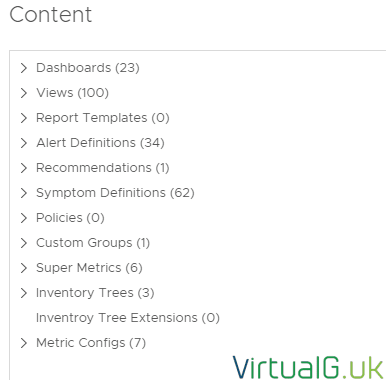
Selecting the 3 vertical dots & View Content lets us explore what the management pack can do for us.
you will notice that there are 100 views and 23 dashboards at present. That’s quite a feature-rich management pack!
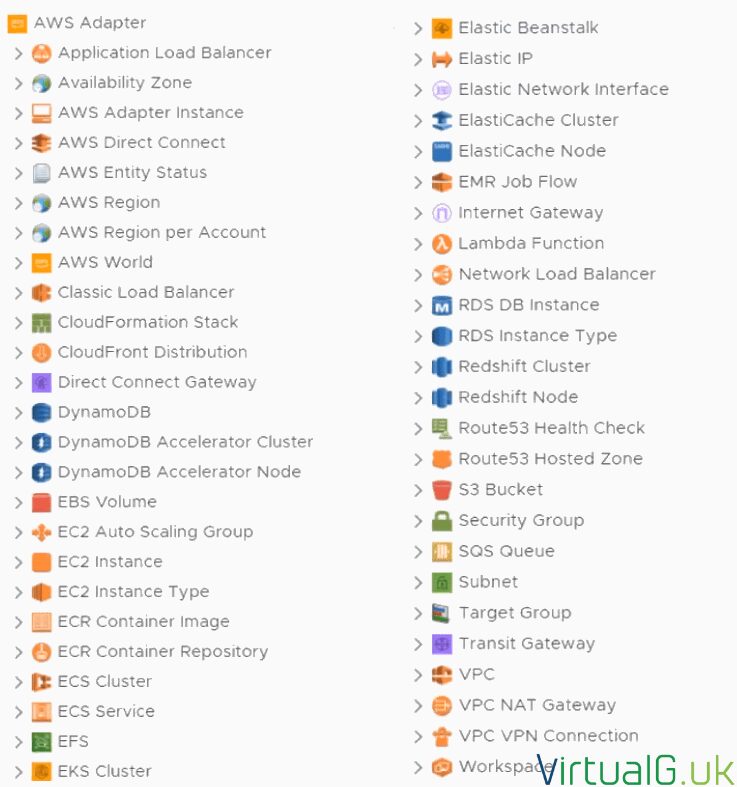
If you expand out some of the content, you’ll start to see some of the AWS object types/services which can be managed by vROps 8.1
AWS Services which Operations Manager 8.1 can manage include:
Setting up the AWS Management Pack
Now that we have explored some of the capabilities of the management pack, let’s get it setup.
The management pack is native to Operations Manager 8.1, so we don’t need to install or enable anything here.
The first thing to do is to create your AWS policy, user & access keys.
Create an AWS IAM Policy
The IAM Policy gets assigned to an AWS user account and determines which services and permissions the user can access within your AWS account.
- Login to your AWS Console
- Open the IAM page: https://console.aws.amazon.com/iam/home
- Under Access Management, select Policies
- Create Policy
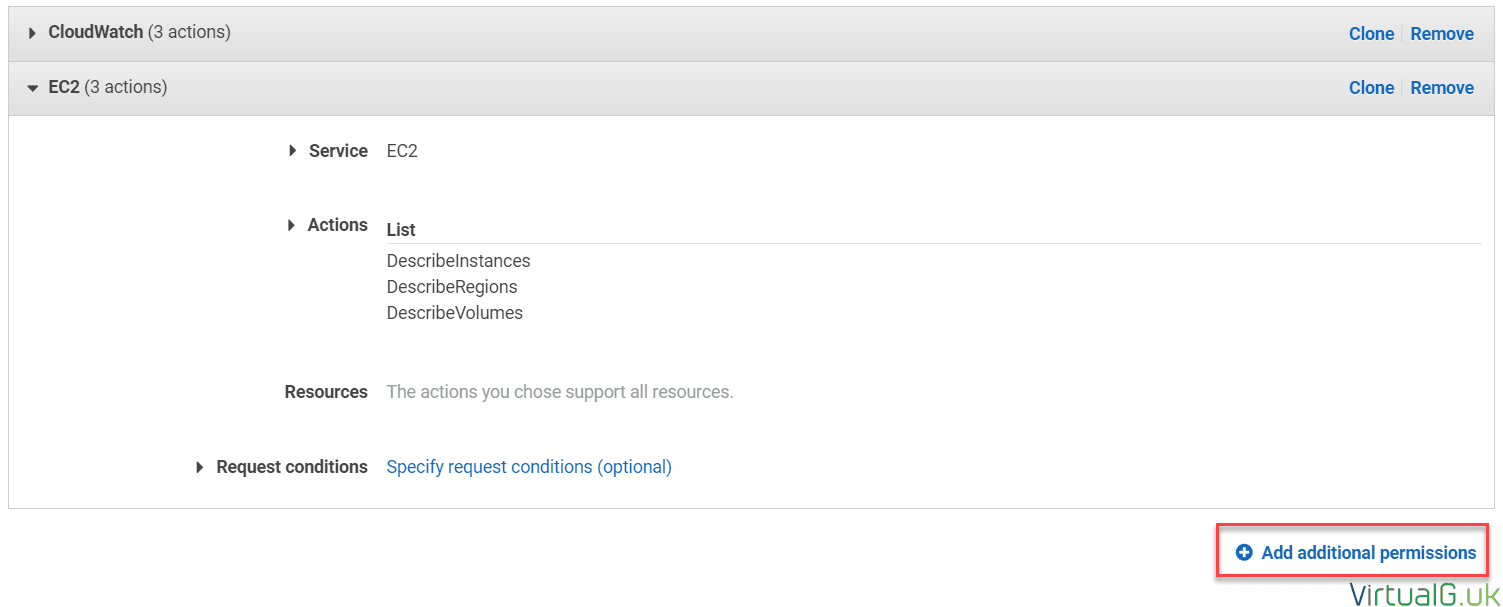
- Referencing the VMware Documentation, select the service and actions for each service which you want VROPS to have access to
- Some of the Services require you to also specify the instance or all instances too
- After each service is complete, select the Add Additional Permissions link to add the next service
To save time, if you only use CloudWatch, EC2, RDS and S3 then you can use the JSON below instead of the Virtual Editor.
Ensure that it contains the right policy configurations for your environment before using it.
{
"Version": "2012-10-17",
"Statement": [
{
"Sid": "VisualEditor0",
"Effect": "Allow",
"Action": [
"ec2:DescribeInstances",
"s3:GetBucketTagging",
"ec2:DescribeRegions",
"ec2:DescribeVolumes",
"cloudwatch:DescribeAlarms",
"rds:DescribeDBInstances",
"s3:ListBucket",
"cloudwatch:GetMetricStatistics",
"cloudwatch:ListMetrics"
],
"Resource": "*"
}
]
}

- Once complete, select Review Policy
- Name the policy, for example: vrops-8.1
- Select Create Policy
Creating the AWS User for vROps
- Open IAM again
- Add User
- Give the user a name, such as: vrops-81
- Enable Programmatic Access
- You do not need to enable console access
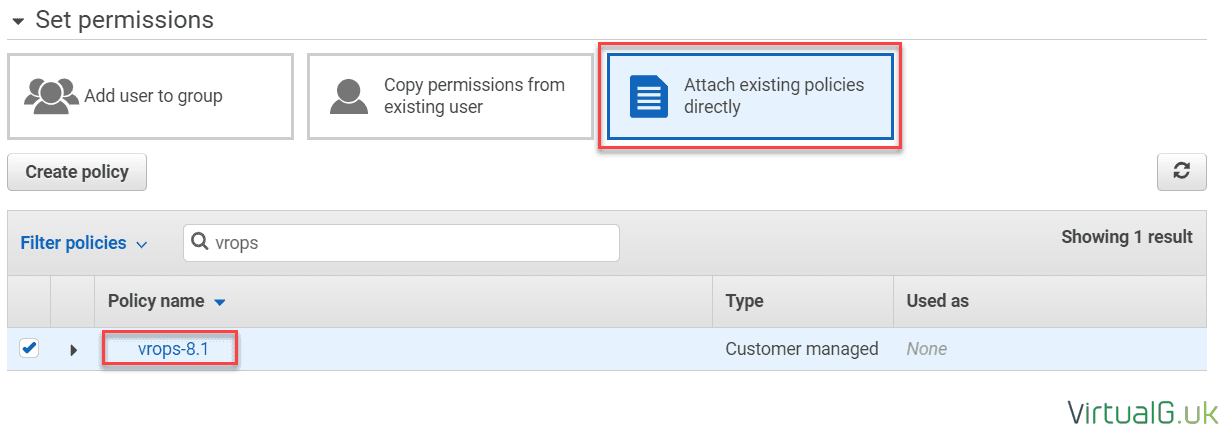
- Select Attach existing policies directly
- Search for the policy we created earlier
- Select Next: Tags
- Assign a tag to the user if required
- Then select Next: Review
- Create User
Now the user is created, make a note of the Access Key ID and Secret access key before closing the page
Creating the AWS credential within vROps
Now we have created the AWS account with the correct credentials, we need to create the credential in AWS, so that vROps can access the AWS account.
- Log into your vROps instance
- Navigate to: Administration > Solutions > Cloud Accounts > AWS
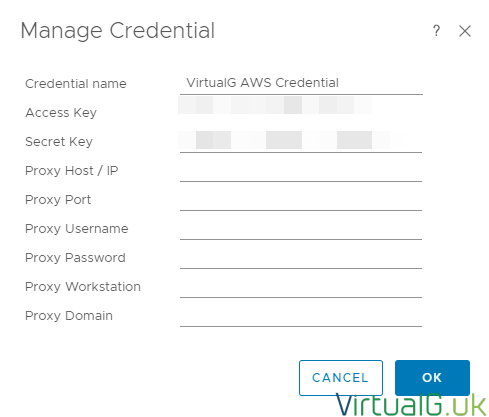
- Complete the fields.
- For the credential, paste the Access Key and Secret Key created earlier.
You don’t need to enter any proxy information unless you use one
- After entering the Credential Information, open the Advanced Settings
- Here you can limit vROps to only import data from certain AWS services and Regions. By default, it will use all available services and regions
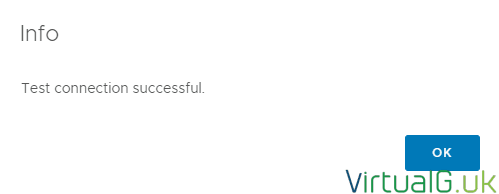
- Finally, use the Validate Connection button to test the connection to AWS
- If everything goes well, you should see that the test is reported as successful
- Hit the Add button to save and continue
Review the objects, alerts and dashboards
After 15 minutes, vROps should have finished the initial collection of the objects within your AWS account.
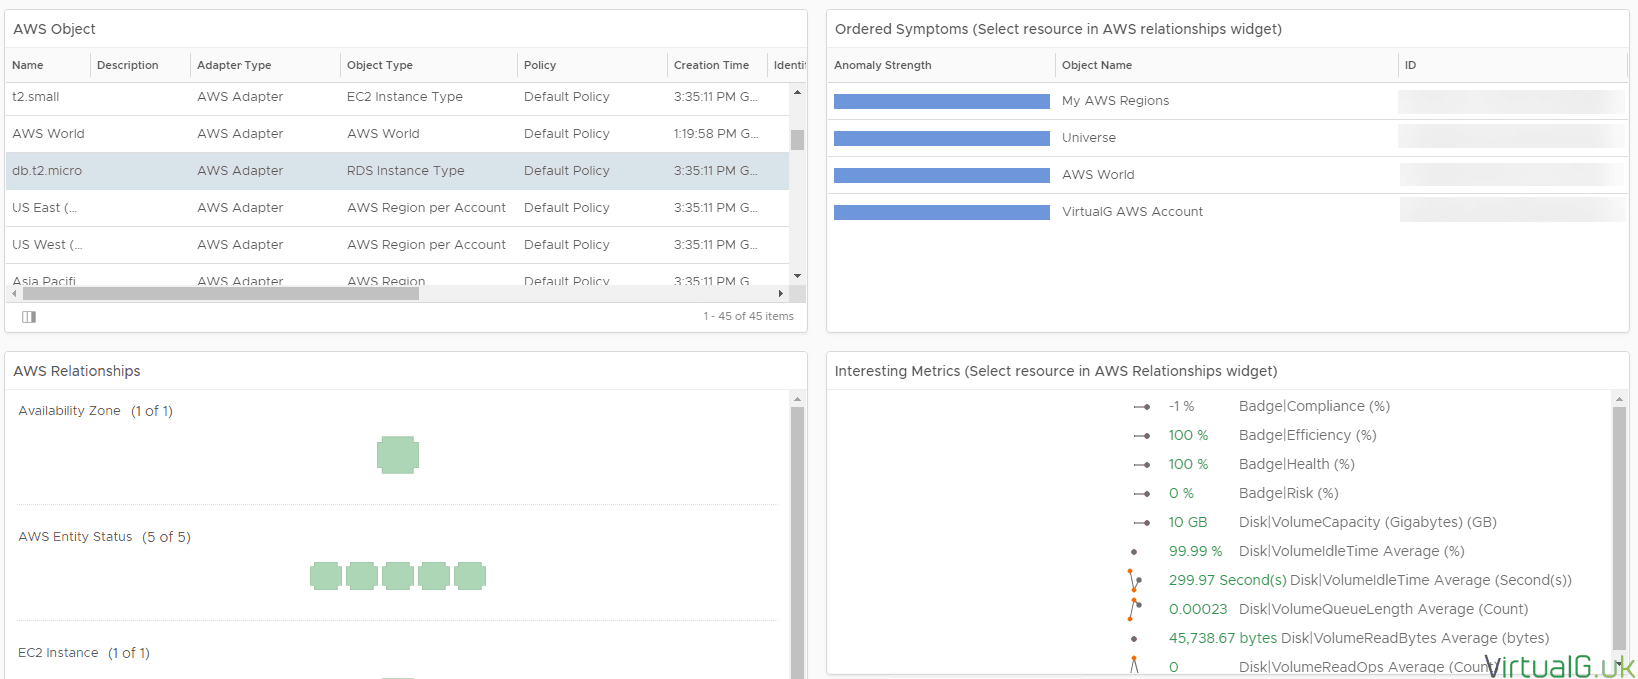
You can view the objects which are imported via Environment > VMware AWS Management Pack > All Objects
Once data is pulling into vROps correctly, check the new dashboards, alerts and other vROps objects throughout the system and start to manage your AWS environment alongside your vSphere and other VMware solutions!


