Contents
You may recall earlier this year that VMware pulled the vCenter Converter software from it’s website. For some time there was speculation if the software which many of us have relied upon in the past would come back.
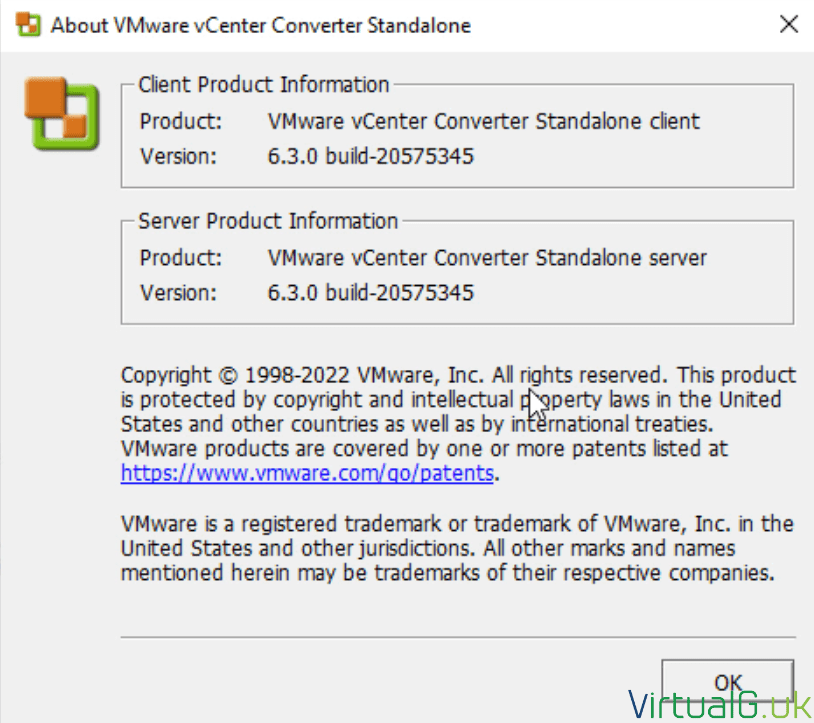
Fortunately this week VMware released vCenter Converter version 6.3.
Download & Installation
You can find the download link to the software at the bottom of this article.
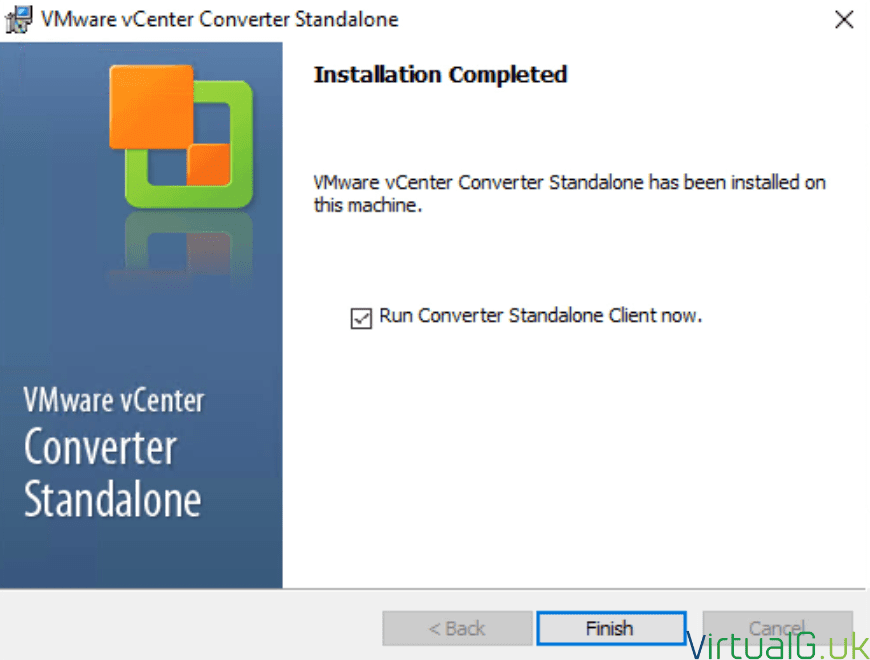
Installation is simple. The only complexity is if you wish to run a client-server configuration. If this is prefered then follow the prompts. For this demo, I’ll be installing the local installation.
Setting up a Conversion Job
Once installed, open the client to reveal the familiar UI from past versions. I actually had to double-check check I had installed the new version since I was expecting s new user interface!
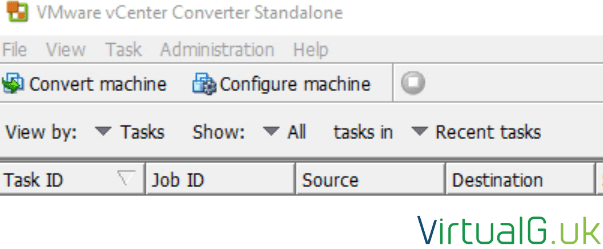
On the top left of the UI you’ll need to select the Convert Machine option
At this point, we need to know if the source VM is powered on or off.
If it is powered on, the Converter will need to install a small application on the Guest OS to complete the conversion. You’ll need administrative / root rights to the source system.
If the VM is powered off, then you can convert it, providing that it is running on a vCenter Server, Workstation or Hyper-V.
Here are your options:

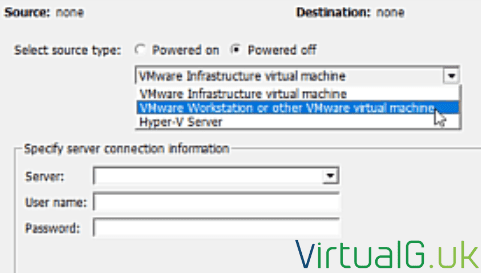
Depending on your source type, you’ll have to enter credentials for the Guest or the hypervisor running the system.
On the next section of the wizard, you choose where you want to send the source system to. You can either convert it to a vCenter virtual machine or a workstation/fusion/player VM.
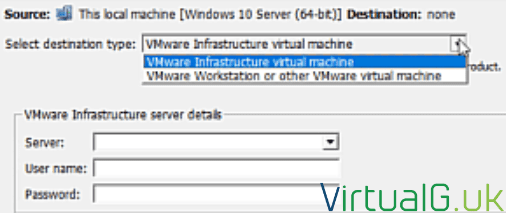
After this, your configuration settings can become complex but this is where the converter application is most powerful.
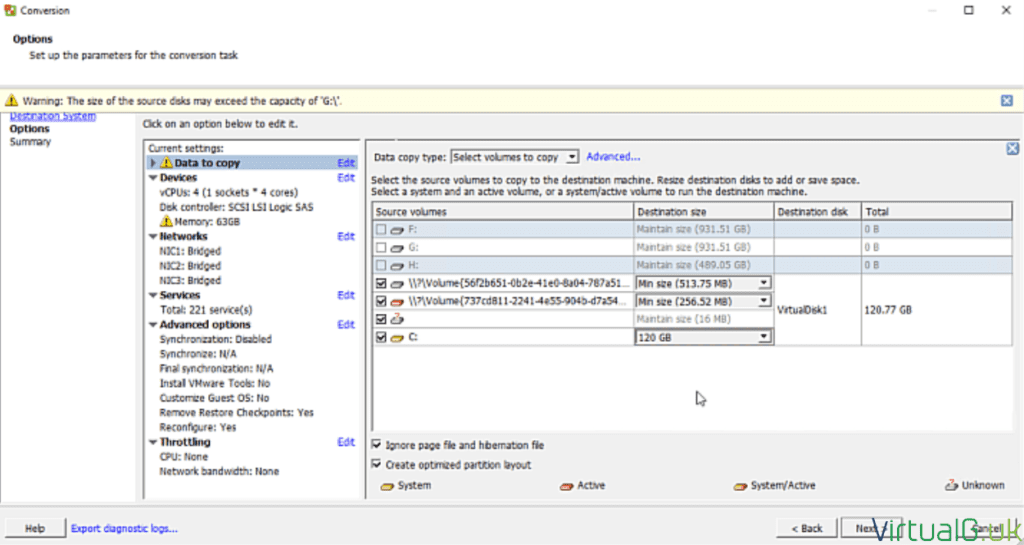
As you can see in the below screenshot, you can customise many things about the system you are converting.
These are not limited to :
- Disk selection and optional resizing
- CPU and memory changes
- Network allocation and enablement
- Enabling and disabling services before and after conversion
- Maintaining a disk synchronisation after conversion, until you decide to manually switch over the system to the new copy.
- Installing VMware Tools
- Throttling the CPU and Bandwidth used for the conversion process so that the source machine continues to run smoothly through the conversion process
From this impressive feature set, you can imagine some special use cases such as converting a VM to another VM within the same vCenter Server but adjusting the disk layout, reducing the size of VMDKs etc. All of this can be performed with minimal downtime by using the synchronisation options in combination with service and throttling.
Once your job is created it will commence automatically.

You can select your job to view the running task and its progress in the UI.

It’s worth mentioning at this point that you can create many jobs and have them all running at the same time via the same vCenter Converter instance.
Post-Conversion
After the conversion finishes and depending on the destination set on the task, you’ll be able to either see the new VM loaded into vCenter server or HyperV. Or if you selected Workstation or Player as the destination type, you will have the VM files available on the provided location to import manually into the respective software. – After testing, these files could also be kept offline as a form of backup, another use-case for this awesome tool!
Summary
I hope this short walk-through has been useful for you, if it has, consider subscribing to the no-spam and totally free mailing list where I send out updates and walkthroughs about many of VMware’s core technologies. Subscribe to the Mailing List
You can also follow me on Twitter or YouTube
Download Links
- You can download VMware vCenter Converter from the VMware Customer Connect portal here.
- VMware vCenter Converter Standalone Documentation




Great write up! As somebody who has spent most of their career in complex back end storage and fibre channel, these guides are a great help when I have to dip into our VMware environment.