You may have heard the recent news that VMware has just released vCenter Server (VCSA) 7.0 Update 2, you can read about all the new features here.
Easily upgrading your vCenter Server to 7.0 Update 2
The good news is that if you’re running vCenter Server 7.0 or 7.0 Update 1, then upgrading to 7.0 Update 2 is easy.
First login to your VCSA Web Client and you’ll see at the top of the page that there is an update available:
Hit the View Updates button or navigate to Hosts & Clusters > Select your VCSA > Updates.
Here you’ll be able to select the vCenter version to upgrade to.
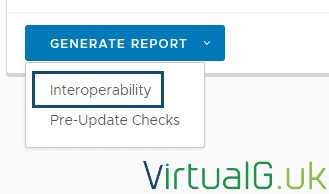
Next, select the Generate Report button and Interoperability.
This checks all known connected VMware solutions and ensures that they’ll be compatible with the selected target vCenter version.
Before you continue, ensure that all solutions (and 3rd party solutions such as monitoring and backup systems support the target vCenter version).
Once you have ensured this, re-open the update planner (Hosts & Clusters > Select your VCSA, Updates > Update Planner) and run the Pre-Update checks:

Hopefully, there will be no identified issues, however, if there are, resolve those before continuing with the upgrade.
Next, ensure your VCSA backups are in good condition, for good measure take a snapshot of your VCSA and open the appliance management interface:
Log in with your VCSA administrator account.
Open the Update page.
Select the target vCenter version:
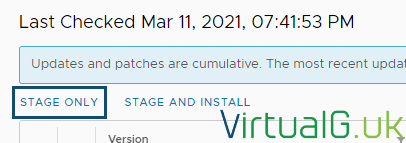
Next, I like to stage the update/patches which will upload the files to the VCSA. (Staging is non-disruptive).
This helps minimise downtime since the files will already be on the VCSA when the install commences.
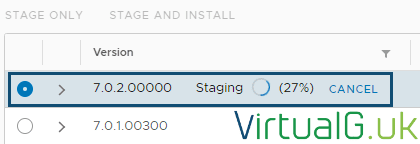
You can follow the staging process in the UI:
Once the staging process shows “staged” the install button becomes available.
Once ready, hit the install button to begin the installation!
Accept the EULA, enter the SSO administrator password and confirm that backups are created.
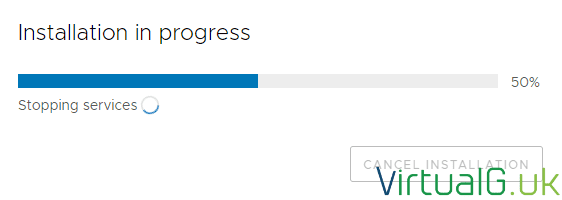
The upgrade will commence:
Partway through the upgrade, you’ll be logged out of the vCenter Server Management Interface.
Through the upgrade process, you might encounter some errors such as:
- Exception in invoking authentication handler unidentifiable C++ exception
- no healthy upstream
Leave the system to complete the upgrade and try again a few minutes later.
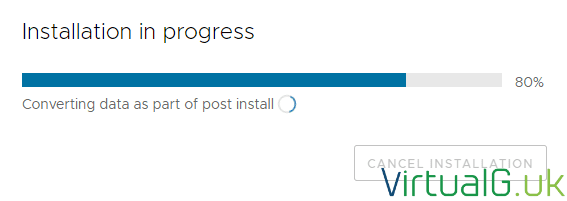
After a few minutes, reload the page and log back into the management interface on port 5480. You might see the post-install tasks finishing as below:
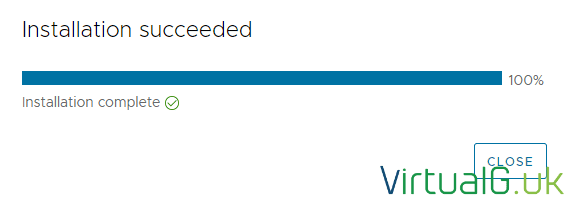
Once this completes, you’ll see the Installation succeeded message!
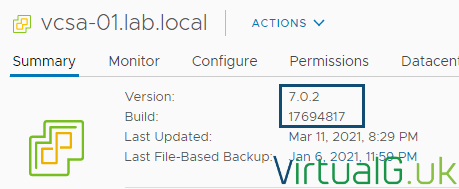
Logging back into the VCSA UI, you’ll see that the Version and Build of the vCenter Server has been upgraded:
Now you can check out the new features in vCenter Server 7.0 Update 2!
Don’t forget to subscribe to the mailing list to be notified of new VMware software versions and guides.








If you have multiple vCenters in linked mode.. power them all off to snapshot before update.. not each one individually before doing the update…
I have vcenter 7 update 1.
1. Is it enough to update to 2 only VSCA and install as described up or
2. Must I first manually updata host ESXi 7u1 to u2 and then point 1
or point 1 is doing update to 2 /esxi and vsca/ ?
Hi Chris
You should update the VCSA first and the hosts second.
Ensure your host’s current version supports the new VCSA version before commencing with any work.
You can use the interoperability matrix for this https://interopmatrix.vmware.com/#/Interoperability