Contents
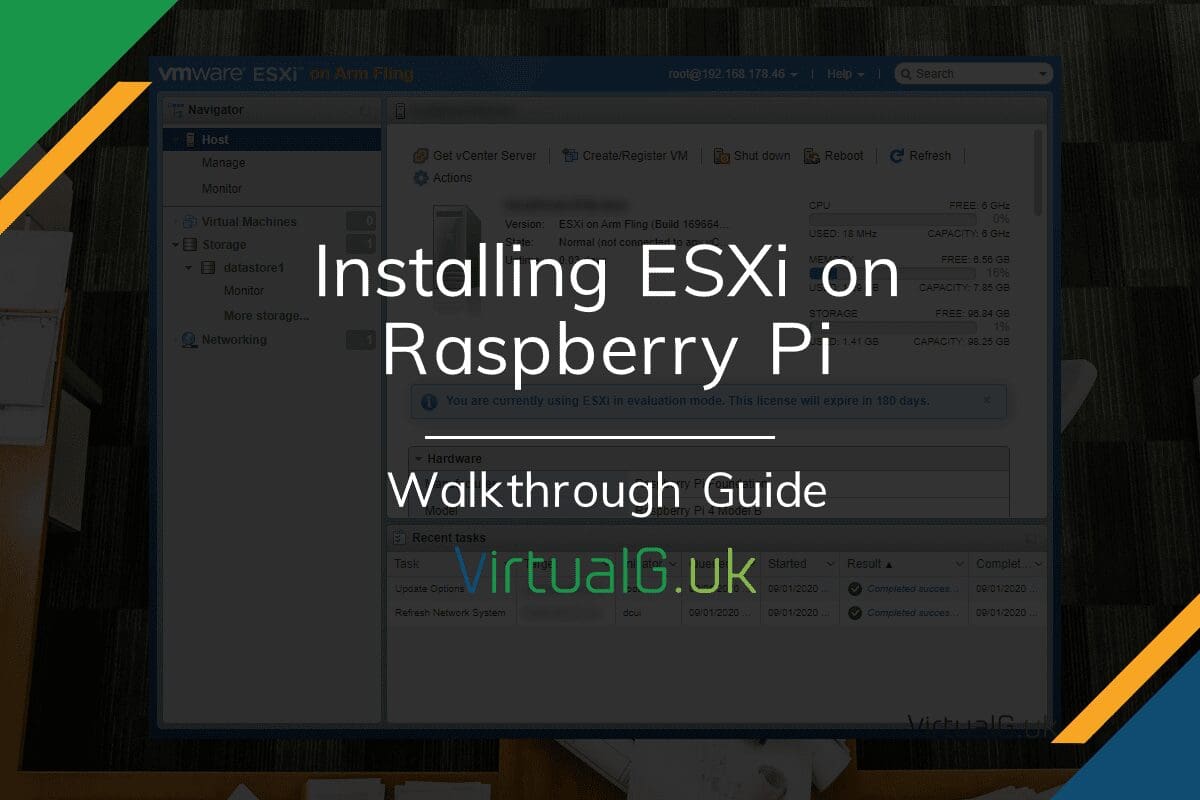
As I discussed in a recent post, VMware has released an “unofficial” fling for ESXi on ARM. Ths good news is that this works on the Raspberry Pi!
There are several considerations to take into account when using the Raspberry Pi for ESXi, for a thorough and complete setup guide, please follow the official guide. If you are just looking for the basics, then read on.
Pre-requisites
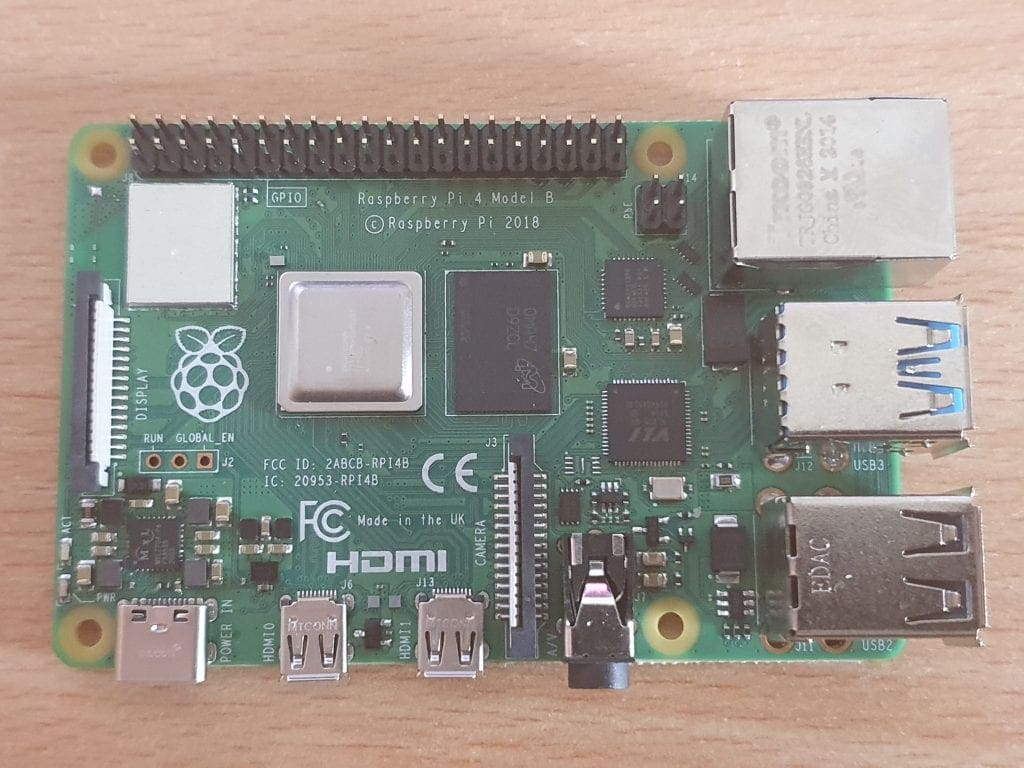
- First, you need a Raspberry Pi 4 Model B (Either the 4GB or 8GB model)
- 1x SD card (This only needs to be small for the UEFI firmware)
- 1x USB drive (as large as you want, we use this for the ESXi OS and remaining space can be used as a datastore)
- Another USB drive to host the ESXi on ARM installation media.
- USB Keyboard (For setup)
- USB-C cable (for power)
- Micro HDMI to (Whatever your monitor supports for the display)
UEFI firmware
If your Raspberry Pi 4 is a little old you may need to update the EEPROM. You can find instructions on this in the official guide. I’m skipping it here because it didn’t apply to any of my Raspberry Pi devices but if you run into issues, it’s probably because the EEPROM needs an update.
Loading the UEFI firmware is easy. From a Windows machine:
- Download the latest firmware https://github.com/raspberrypi/firmware/archive/master.zip
- Download the latest community firmware https://github.com/pftf/RPi4/releases/download/v1.20/RPi4_UEFI_Firmware_v1.20.zip
- Format your SD card as FAT32
- Extract firmware-master.zip from earlier
- Delete all 4 of the kernel WinImage files after extraction completes
- Copy the boot directory contents to the SD card
- Extract RPi4_UEFI_Firmware_v1.20.zip from earlier
- Copy everything within RPi4_UEFI_Firmware_v1.20 to the SD card – Overwrite existing files when prompted
- If you have the 4GB Raspberry Pi, open config.txt and add the following to a new line at the end of the file (no spaces): gpu_mem=16
Setting up the UEFI
- Insert the SD card into the Raspberry Pi
- Connect USB keyboard and monitor via HDMI
- Connect USB-C power
- Press ESC until the UEFI menu shows
- Navigate by using the up and down arrows and enter key to:
- Device Manager > Raspberry Pi Configuration > Advanced Configuration
- Highlight the option for Limit RAM to 3GB
- Press Enter and use the up and down keys to change this to DISABLED
- Press enter and F10 to save the configuration
- Press ESC until you are back to the home page
- Navigate to Continue, then press enter
Create ESXi on ARM installer
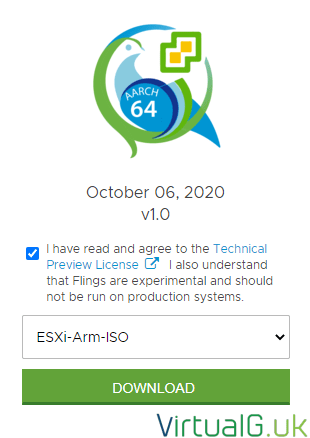
Next, download the ESXi installer: VMware-VMvisor-Installer-7.0.0-16966451.aarch64.iso
You can download this via the link on the fling page: https://flings.vmware.com/esxi-arm-edition
Pressing download will redirect you to the my.vmware.com page. You will need a free account to proceed if you don’t already have one.
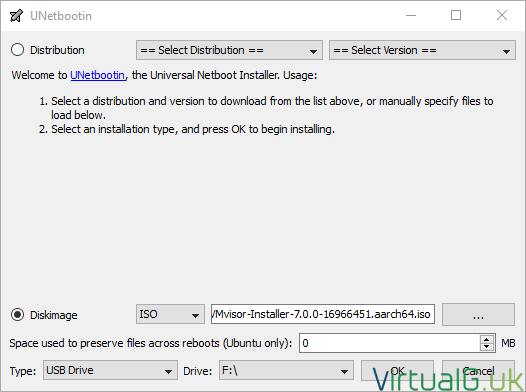
Once you have the ISO file, you’ll need to use a tool such as https://unetbootin.github.io but any similar tool should work fine.
- Open the tool
- Select the ISO
- Select your USB drive (The one you want to use as the installer)
- Create the image
Installing ESXi onto the Raspberry Pi 4
- Insert both your newly created USB installer drive and the blank USB drive into the Raspberry Pi
- Ensure the HDMI cable and keyboard are also connected
- Connect the USB-C power
- Hit the ESC key until the UEFI loads
- Navigate to Boot Manager
- Select your USB drive with the installation files
- Hit enter
The familiar ESXi installation wizard starts.
- Quickly hit the SHIFT and O (letter O) key at the same time
- At the bottom of the screen, append to the existing text: autoPartitionOSDataSize=8192
- This will ensure that only 8GB of the USB drive is used for the ESXi installation. We can use the rest for a datastore, more on that later
- Hit enter to continue
- Follow the prompts as you would for any other ESXi installation
- Ensure you select the correct device to install ESXi onto
- Congratulations, you now have a functioning copy of ESXi running on your Raspberry Pi!
- Connect a Network cable and remove the USB installer drive
Changing the boot order
- Hit Enter to reboot
- Hit ESC until the UEFI loads again
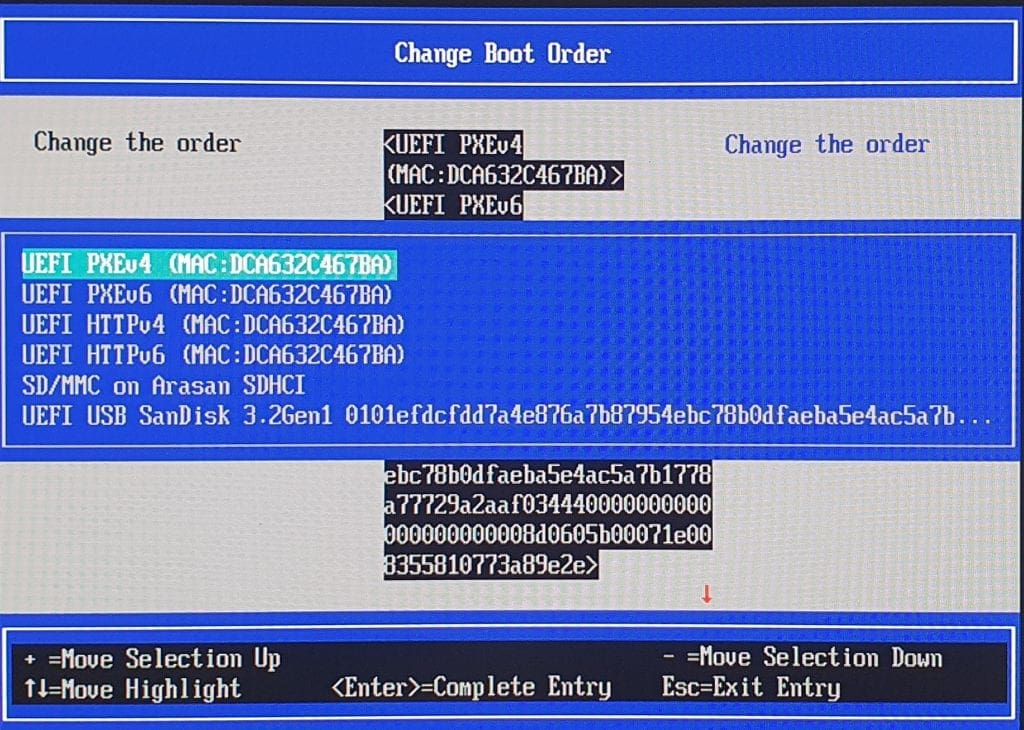
- Navigate to Boot Maintenance Manager > Boot Options > Change Boot Order
- Hit enter, you’ll see the following:
- Highlight your USB drive with the up and down arrows
- Use the + key to move the USB drive to the top of the list
- Once it’s at the top, hit enter to complete
- F10 to save
- Y to confirm
- Hit ESC x3
- Then navigate down to Continue
- Hit Enter and ESXi will load!
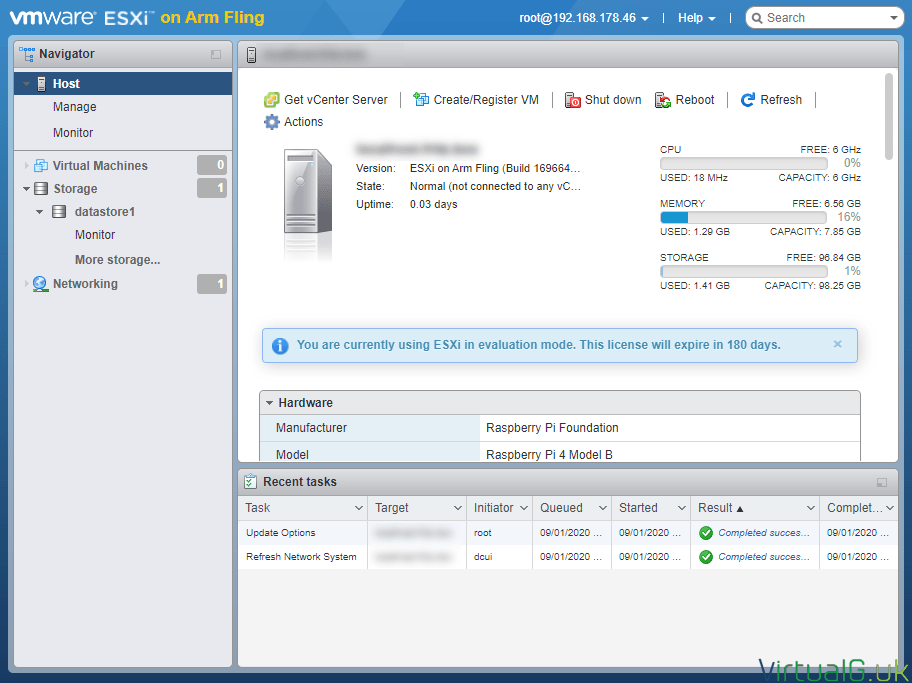
Now you can login to the ESXi host on the IP address displayed on the screen (if you have DHCP running on your network) or set a static IP as normal.
Using the USB drive as a datastore
Fortunately, this is handled automatically.
When you log into the web interface, you will see a new datastore already created on the device.
This will be the size of the remaining free space after the 8GB OS partition which we forced during the install.


