Contents
The easiest way to apply a patch to vCenter Server is via the built-in Update planner. This article will go through using Update Planner which is mostly valuable for the built-in interoperability checker, ensuring all your VMware solutions support the target VCSA version.
In my lab, there was an issue with completing the actual upgrade process but I’ve covered that by showing you how to do it manually in just a few clicks.
Pre-Checks with Update Planner
Launch Update Planner by selecting your vCenter Server, then the Updates tab.
Select Update on the left pane
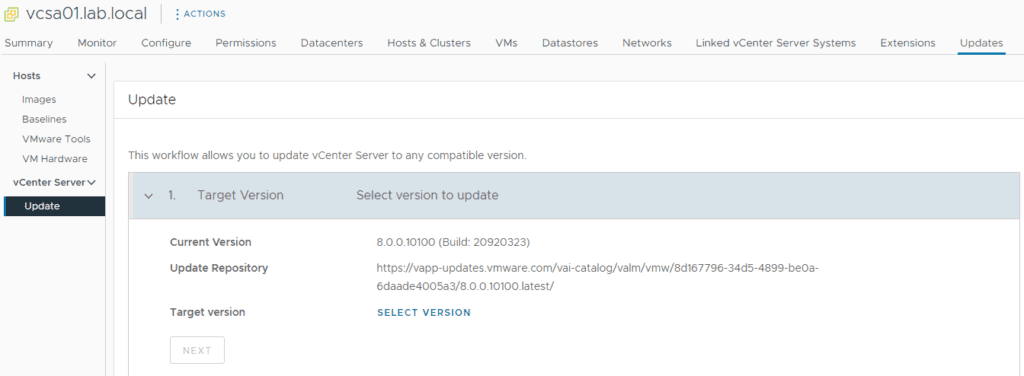
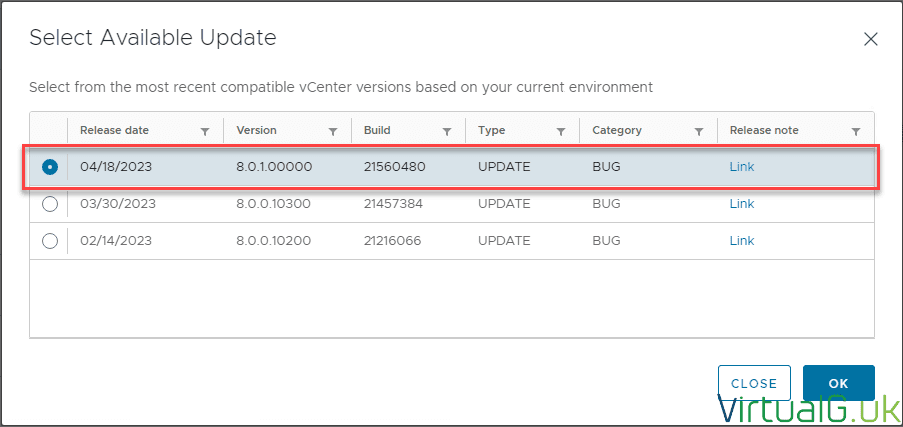
Next Select Version to choose your target VCSA version to upgrade to. View the release notes and ensure everything is acceptable for your environment. The release notes will also display the full version information for that release. In my case, this is vCenter Server 8.0 Update 1.
To convert build numbers to a release name you can also use: https://kb.vmware.com/s/article/1014508
Now we move on to pre-checks and interoperability. I only have ESXi servers in my environment and vSAN. I do not have any other VMware solutions or 3rd party solutions in this lab. If I had 3rd party solutions I would need to check their compatibility against the target VCSA version separately.
Note that in the interoperability checker, you can add additional VMware products to ensure everything is compatible before continuing. You can also use the Interoperability site: https://interopmatrix.vmware.com/Interoperability
Before proceeding, ensure you have a supported and valid VCSA backup. You can find out how to set these up in my other post How to correctly Backup & Restore VMware vCenter Server (VCSA) 8

Unfortunately for these source and target version combinations, it’s not possible to proceed with using Update Planner for the update. This is a shame because it’s only a few more clicks away.
We will however go through the alternative upgrade method now.

Manual VCSA Patching with patch ISO
Login to https://customerconnect.vmware.com/patch and select VC and the target version
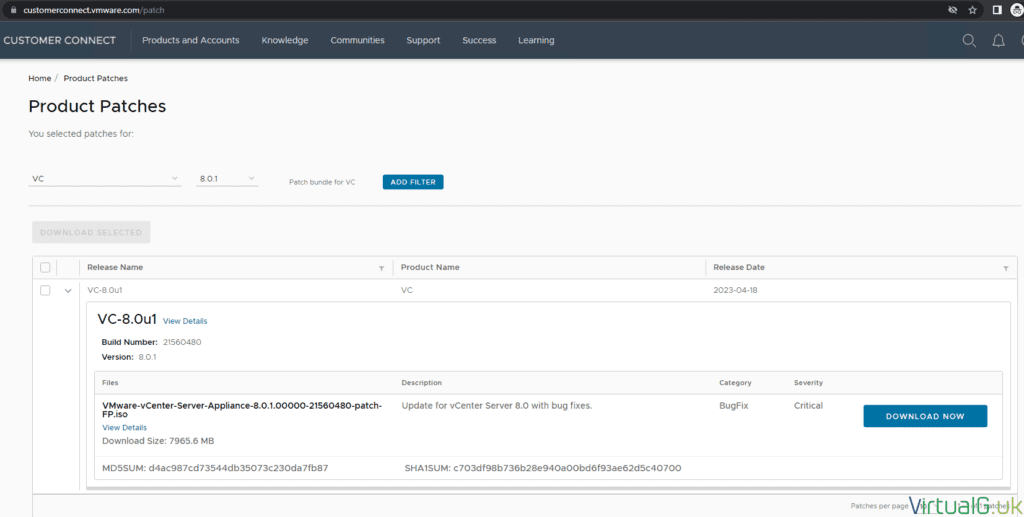
Ensure you download the patch-FP.iso file

If you have traditional datastores, you can upload the ISO to one of those, or you can upload to a Content Library if you only have a vSAN datastore

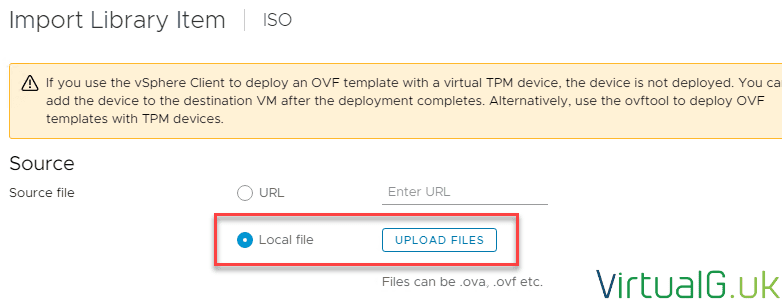
Wait for the ISO to finish uploading before proceeding

After the ISO is uploaded, attach it to your VCSA that you want to upgrade:
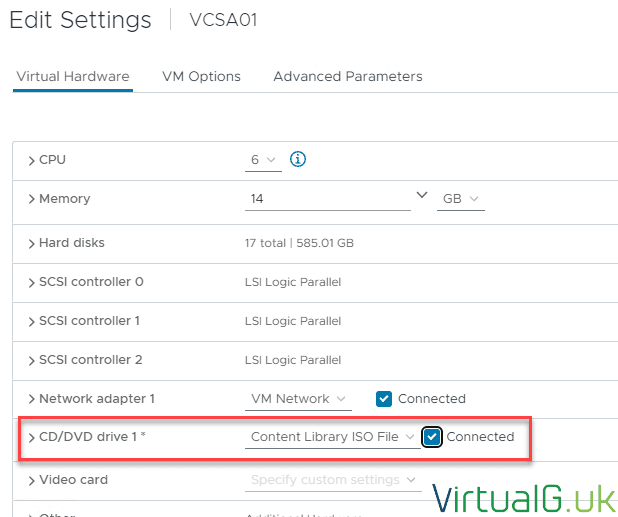
Ensure the CD/DVD drive is connected and hit OK
In my opinion, the smoothest way to start the patching process is via an SSH session.
If SSH is not enabled on your VCSA, you can enable it via the VAMI (https://vCenterServerIP:5480)
Once logged in with the root account, select Access and enable SSH login

Staging the patches to the VCSA
Staging the patches merely copies them to the VCSA, it does not install them at this stage.
With SSH enabled, log in to the VCSA appliance with the root account.
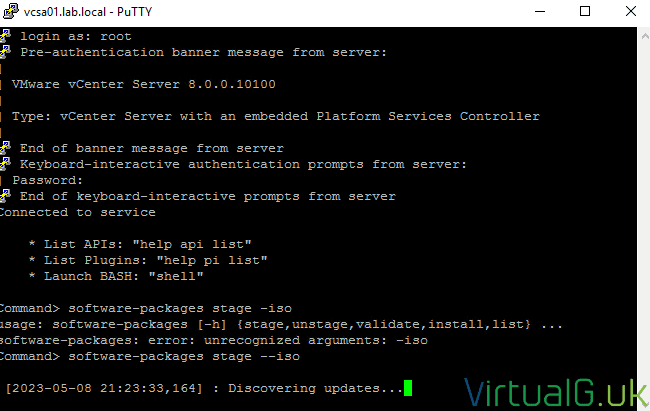
Run the following command:
software-packages stage –iso
(Notice the double hyphen)
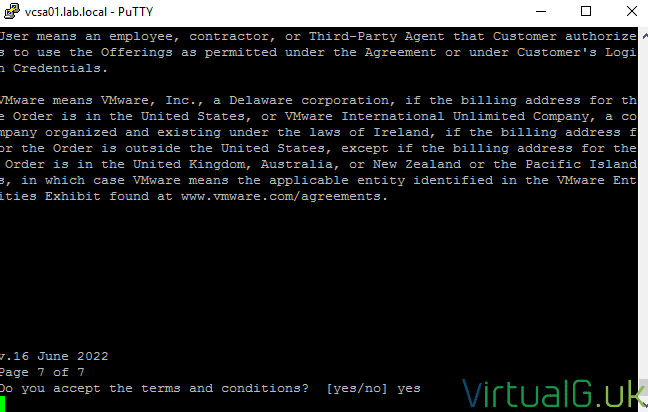
Hit Enter until you have read the entire EULA and type yes to accept:
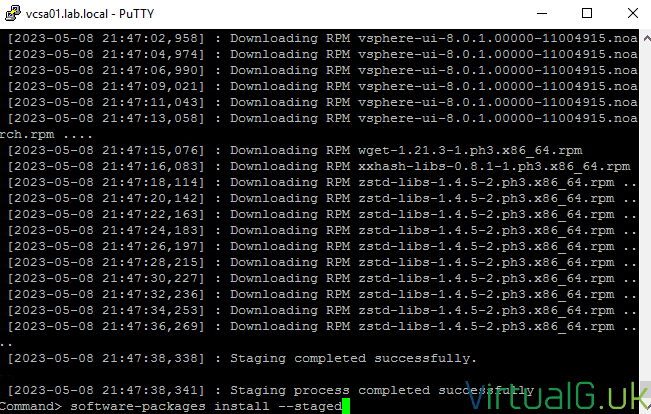
With the stages downloaded onto the VCSA, we can now apply them.
On the same SSH session, run the command:
software-packages list –staged
This will show you what will be installed
Apply patches
And finally, to apply the staged patches run:
software-packages install –staged
This will install the patches and reboot the VCSA. Be sure to stop your backups and other services before patching your vCenter Server Appliance.
Your ESXi / vSAN hosts can remain online as they will continue to host VMs and storage without disruption, even while the VCSA reboots.
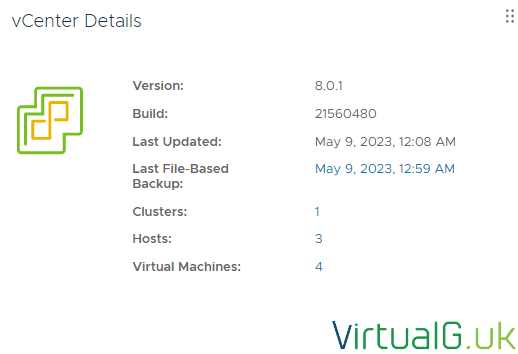
After the appliance has automatically rebooted, login to the VCSA and you’ll find that it has been upgraded to the target version:
