Contents
VCF 9 was announced in 2024 and became GA on 17th June 2025. Since then, the VMUG Advantage team has collaborated with Broadcom to offer complimentary VCF9 licenses to their members who pass the VCF Architect VCP exam.
Most of us do not have large home labs, and as a result, deploying VCF 9 for training and experimentation can be a challenge. So today, I embarked on the challenge of deploying VCF 9 on a single ESXi host and documented the entire process.
This is a multi-part post. You can find the index of all the posts here:
Part 1 – Physical ESXi Host Configuration < You are here
Part 2 – Deploying the VCF 9 Installer & Offline Depot
Part 3 – Deploying VCF 9 with the VCF Installer
Prerequisites
Before we begin, you will need a few things:
- An ESXi host
- This does not need to be new. I’m using an old Dell PowerEdge R730 for this guide.
- Mine is populated with 384GB Memory, 2x 16 core CPUs & 1.5TB PCIe SSD
- You can pick this spec up quite cheaply online, and you can probably do it with less.
- DNS Server
- I’ve deployed a Windows Server with the DNS role, but you can also use PhotonOS or a similar operating system with DNS server capability.
- Networking
- You’ll need networking hardware that supports VLANs – Try pfSense as a free option.
- Broadcom Subscription
- You will need access to the installers from Broadcom.
- If you don’t already have these, consider a VMUG Advantage subscription + take the VCF Architect exam for access.
If you want to check the VMware VCF 9 Release Notes, you can find them here.
Downloads
Log in to the Broadom Support portal, locate the vCloud Foundation section and download the following:
- VMware-VMvisor-Installer-9.0.0.0.24755229.x86_64.iso
- VMware-VCSA-all-9.0.0.0.24755230.iso
- VCF-SDDC-Manager-Appliance-9.0.0.0.24703748.ova
- Operations-Cloud-Proxy-9.0.0.0.24695833.ova
- vmsp-vcfa-combined-9.0.0.0.24701403.tar
- nsx-unified-appliance-9.0.0.0.24733065.ova
- VMware-NSX-T-9.0.0.0.24733065.vlcp
- VCF-OPS-Lifecycle-Manager-Appliance-9.0.0.0.24695816.ova
- Operations-Appliance-9.0.0.0.24695812.ova
- vcf-9.0.0.0-offline-depot-metadata.zip
For the official VMware VCF 9 architecture documentation, see here.
Configure your physical ESXi host
Assuming you already have your physical ESXi host deployed, you will need to configure:
A new vSwitch
- Set Promiscuous Mode, Mac Address Changes & Forged Transmits to Accept
- MTU to 9000
A new Portgroup
- Set the Portgroup to use the new vSwitch
- Inherit settings from the vSwitch
- VLAN ID set to 4095 (all components we deploy will have their VLAN configured on the guest side)
I called my vSwitch VCF-vSwitch & the Portgroup VCF-PG.
Datastore
- Ensure you have a datastore with ample free space.
- I have >1.5TB, which worked fine.
Create A and PTR records for the VCF components
Create the A records on your DNS server for the following VCF components, which we will deploy later, along with the corresponding PTR records. You can change the FQDNs to anything you want, but these are what I used in my lab for reference:
esx01.vcf.lab.local – ESX Host 1 (Management host)
esx02.vcf.lab.local – ESX Host 2 (Management host)
esx03.vcf.lab.local – ESX Host 3 (Management host)
esx04.vcf.lab.local – ESX Host 4 (Workload host)
esx05.vcf.lab.local – ESX Host 5 (Workload host)
esx06.vcf.lab.local – ESX Host 6 (Workload host)
sddc01.vcf.lab.local – VCF Installer
fleet01.vcf.lab.local – VCF Fleet Manager
ops01.vcf.lab.local – VCf Operations
ops-col01.vcf.lab.local – VCF Operations Collector
auto.vcf.lab.local – VCF Automation
auto-n1.vcf.lab.local – VCF Automation Node 1
auto-n2.vcf.lab.local – VCF Automation Node 2
vcsa01.vcf.lab.local – vCenter Server Apliance
nsx01.vcf.lab.local – NSX Manager
nsx-cl01.vcf.lab.local – NSX Cluster Manager
sddcm01.vcf.lab.local – SDDC Manager Appliance
Deploy the 6 Nested ESXi Hosts
A minimum of 3 hostys are required for the management plane, then another 3 for the workload cluster. This guide is for setting up the management plan, but you’ll also want to configure workload at the same time, so ensure you do that as well.
Using the ESXi ISO, deploy it to your physical ESXi host as a VM x6 times using the below configuration.
First, note that if you have a VCSA, use that. You can deploy the OVA version of ESXi and modify the config after deployment (Trust me, it’s much easier!), but if you don’t, then try the below directly on your physical ESXi host.
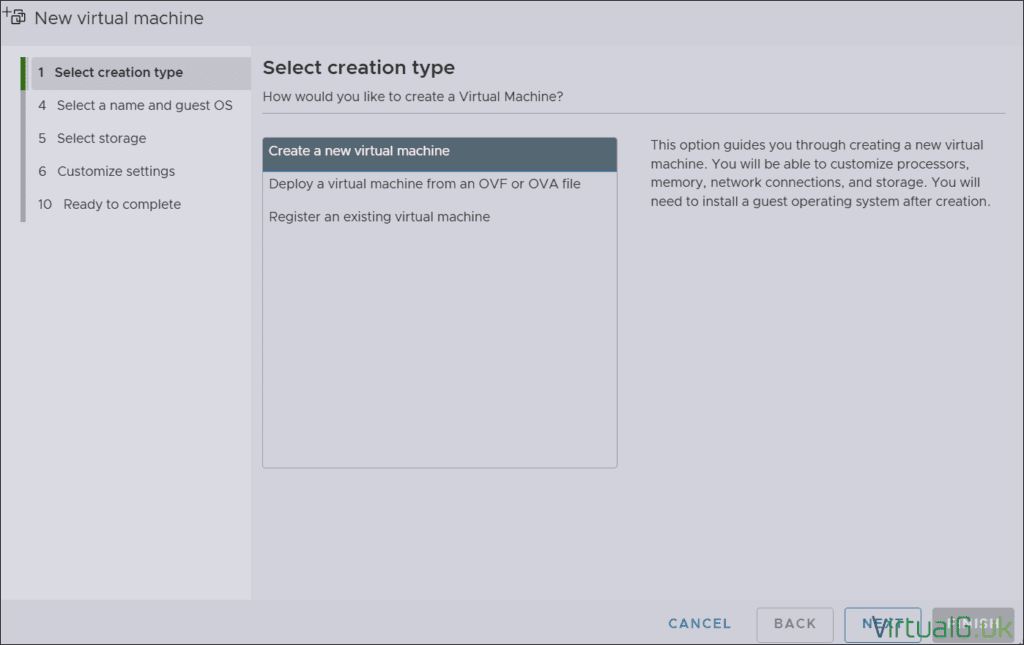
Create new VM
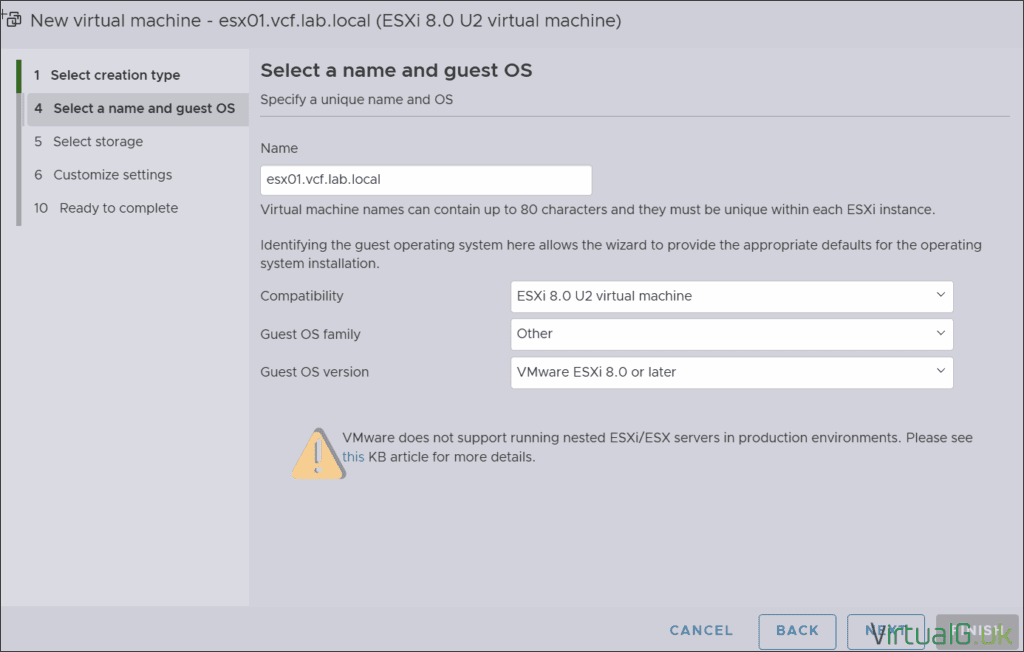
Select the VM Name and Guest OS Settings
Select a datastore for the embedded ESXi VM for VCF 9

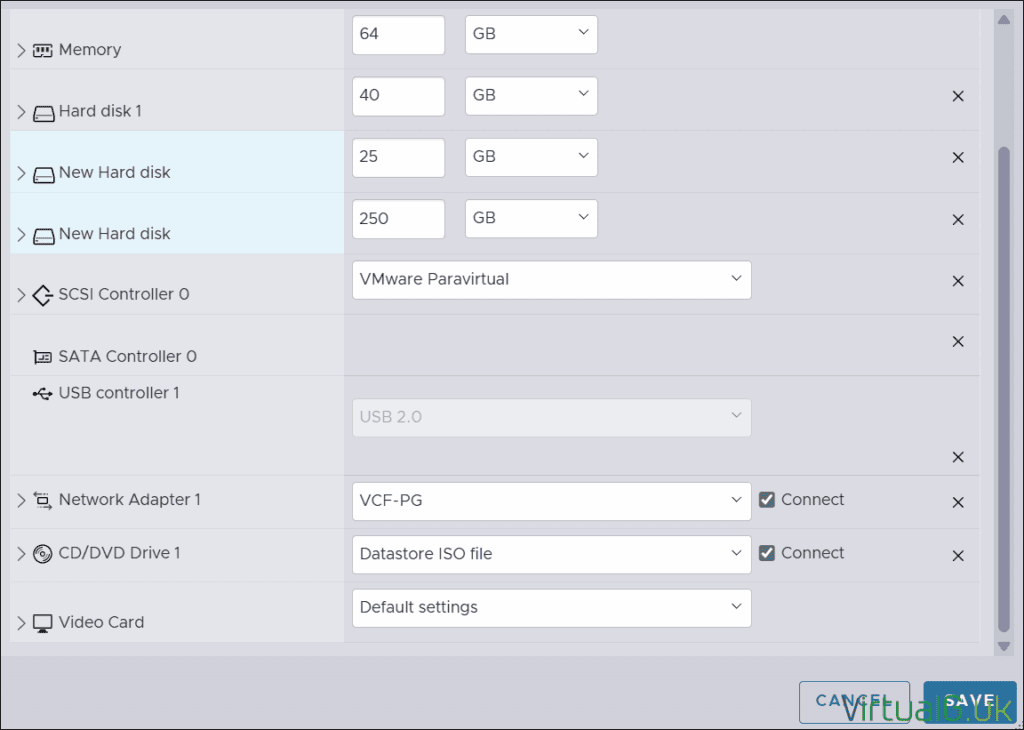
Under customise settings, set the following options:
- CPU: Ideally, a CPU with 32 cores. It’s possible with 16, but with some adjustments later
- Memory: I started with 64 GB on each nested ESXI VM
- Hard disk 1: 40GB to be used for the ESXi installation
The remaining Hard disks depend on what hardware you have available. VCF supports vSAN OSA, and ESA is possible, but it requires some additional work for our specific use case. You can also use VMFS. I’m going to go with vSAN OSA, so I created a 25GB disk (Hard disk 2) for cache and a 250GB Disk (Hard disk 3) for capacity on each of the nodes. I set everything to thin-provisioned due to space constraints; use thick where possible. - Network Adapter 1: Set this to use the Portgroup created earlier (VCF-PG)
Deploy this embedded ESXi host and repeat the process until all 6 hosts are deployed.
Edit the VM settings and verify that Hardware-Assisted virtualization is enabled &the XD/DVD drive is connected at boot.

Log in to each nested ESXi VM on the console and run through the installer. Ensure you select the 40GB disk (or equivalent) as the installation destination, then set the password and continue.
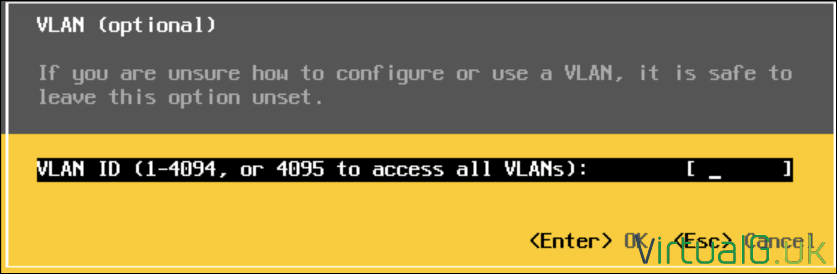
You’ll need to set up a new VLAN for your VCF Management network on your network (or the suggested pfSense VM router). I am using VLAN 10.
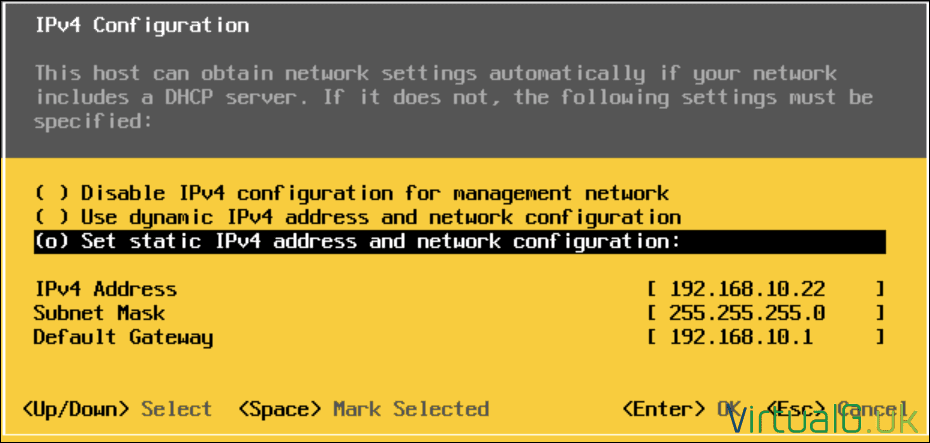
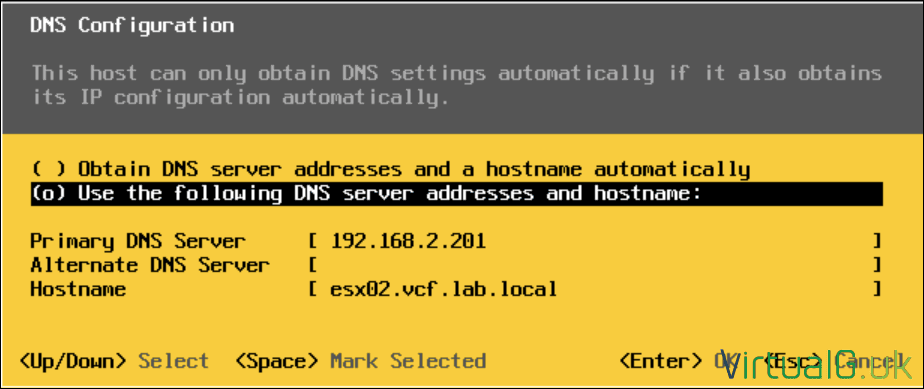
Log back into each of the nested ESXi hosts and set the networking information. Tag the VLAN on the nested ESXi hosts’ management networks (or don’t set it if you’re using it as your default VLAN)
Ensure vSwitch0 has an MTU of 9000 set. You can do this via the host UI or via esxcli:
esxcli network vswitch standard set -v vSwitch0 -m 9000
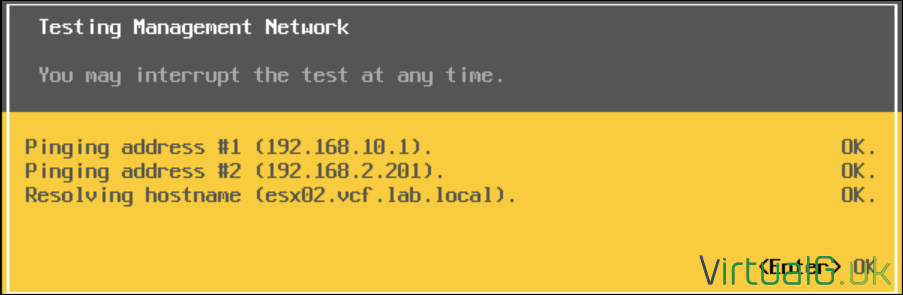
After setting the networking on the Nested ESXi hosts, ensure they are reachable from your workstation & perform a Network Test from within ESXi
Set the NTP Server
Log in to the Host UI via the FQDN of the nested ESXi host, Eg https://esx01.vcf.lab.local/ui
- Manage > System > Time & Date > Edit NTP Settings
- Set the NTP settings
- Then navigate to Services and start the NTPD service
Complete this for all of your nested ESXi hosts.
Next, proceed to step 2, where we deploy the VCF Installer here: Part 2 – Deploying the VCF 9 Installer & Offline Depot

[…] 9 Installer & configured the offline depot. We can now proceed with the VCF 9 Deployment Wizard.Part 1 – Physical ESXi Host Configuration Part 2 – Deploying the VCF 9 Installer & Offline Depot Part 3 – Deploying VCF 9 […]
[…] the embedded ESXi hosts.:This is a multi-part post. You can find the index of all the posts here:Part 1 – Physical ESXi Host Configuration Part 2 – Deploying the VCF 9 Installer & Offline Depot < You are herePart 3 – […]
Does pfsense have to be on hardware or can it be on the same physical host?
Pfsense can be placed on the same host, my router is external so it wasn’t covered in this article.