Contents
Unlike traditional networking solutions, NSX-T runs on top of a hypervisor. In NSX-T’s case, this can be a vSphere hypervisor (ESXi) or KVM. The main advantages of this approach are that you re-utilise existing hardware, reducing CAPEX costs (Hardware, Cabling, Rackspace etc) while also OPEX costs including warranty, support and licensing charges.
Another advantage is that NSX is distributed over a number of hypervisors in your existing environment. This enables a simple yet highly scalable and fault-tolerant topology for the solution.
When referring to NSX, ensure you look for NSX-T and not the older NSX for vSphere solution (NSX-V) which reaches end of support in 2022.
Download the VMware NSX-T Appliance
First, you need to download the NSX-T Unified Appliance OVA.
If you have an entitlement already, then go ahead and download this from https://my.vmware.com
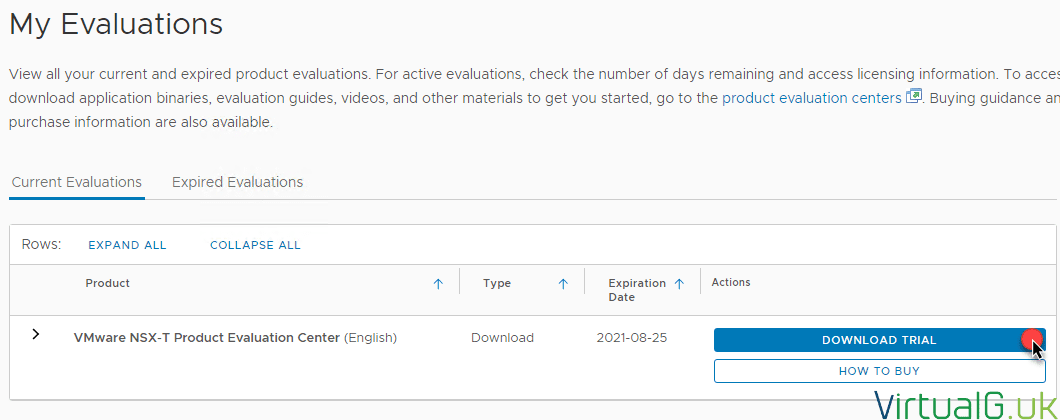
To try NSX-T, then you can download the evaluation files.
Login to your VMware account https://my.vmware.com
Navigate to the All Products Page https://my.vmware.com/group/vmware/downloads/#all_products
Select VMware NSX-T Data Center.
Once you press the try button, follow the wizard and you’ll be presented with the download options.
You can also go to the evaluations page to download once you have registered for the trial https://my.vmware.com/group/vmware/myeval
You need to download the following file if you plan on using NSX with vSphere.
Limited Export – NSX Manager/ NSX Global Manager / NSX Cloud Service Manager for VMware ESXi
Deploying the NSX-T NSX Manager Appliance OVF
Before commencing this section, note that I had difficulty installing the OVF via Google Chrome, Edge worked for me. Hopefully, this saves you some troubleshooting time.
Once the appliance has download, deploy a new virtual machine from OVF via the usual way.
Specify the location of the OVF template
Specify the Name and Folder for the appliance.
Select your host or cluster for deployment
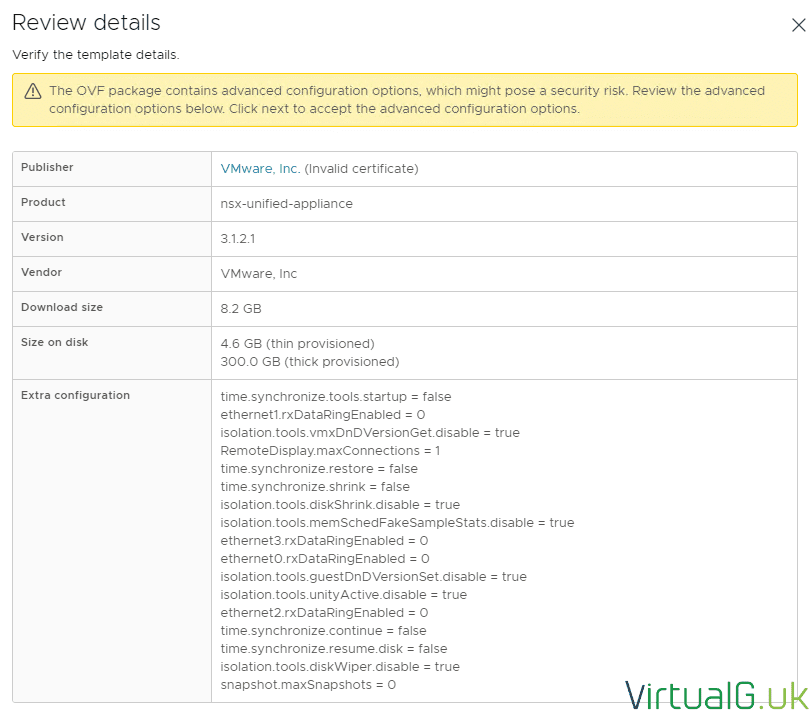
Review the deployment details.
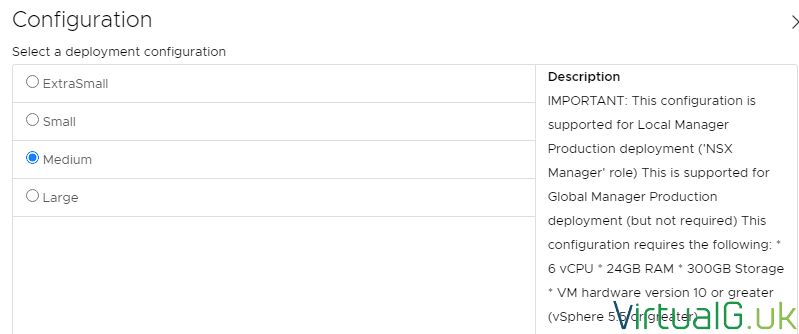
Select a deployment type. The default is the medium option. Be sure to read the descriptions for each deployment type to ensure you are selecting a supported option for what you plan to use NSX for.
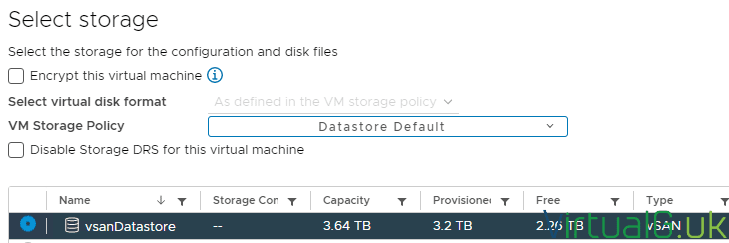
Next, select your vSAN or traditional VMFS datastore. The description in the previous screen tells you how much space you need for each deployment type.
Select the management network for NSX manager. In my lab, this is the default VM Network
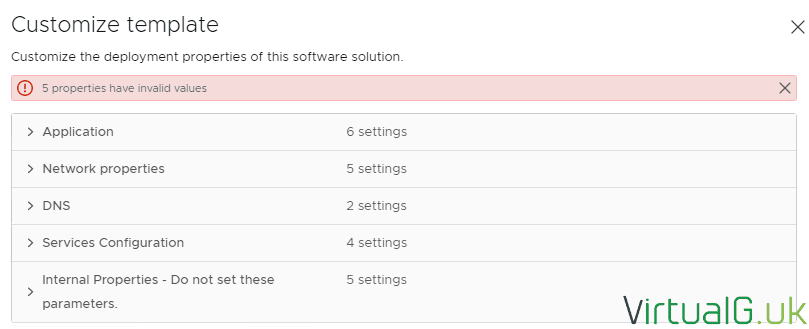
Enter all required details on the next page.
Skip the internal properties section.
Finally, review the last page and finish to continue.
Once the VM has completely deployed, power it on.
In my lab I have limited CPUs on my hosts, so I received an error when powering on the VM:
No host is compatible with the virtual machine
This was fixed by editing the VM settings and lowering the CPUs, however, this will not be supported in a production environment.
Logging into NSX Manager for the first time
After powering on the NSX Manager appliance, wait a few minutes for all services to stat up and login via a web browser using the FQDN or IP address:
https://fdqn
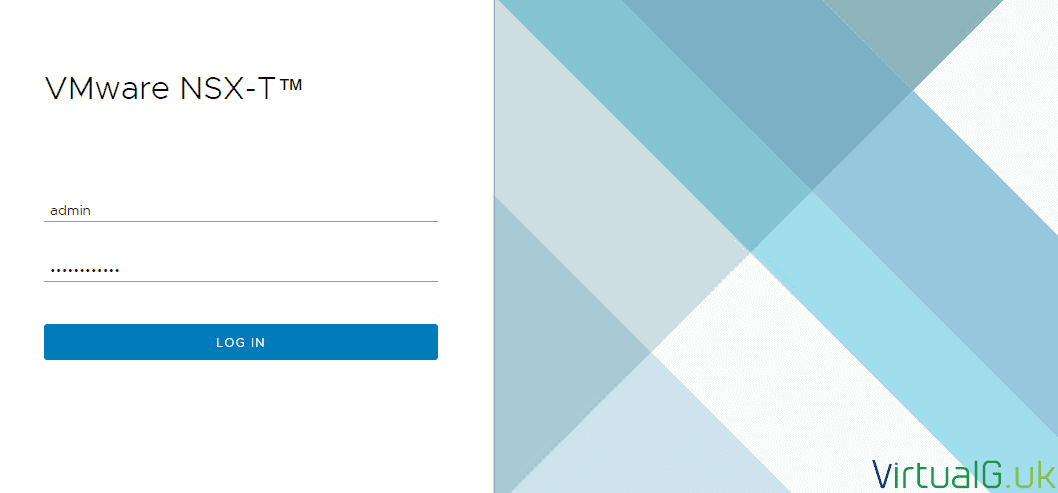
Login to NSX Manager with the admin username and the password you specified at deployment time.
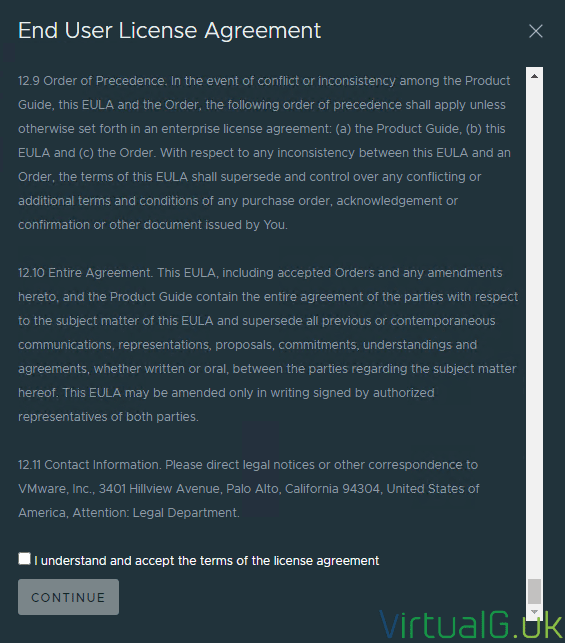
Upon the first login, you need to accept the EULA.
Optionally opt-in to the CEIP.
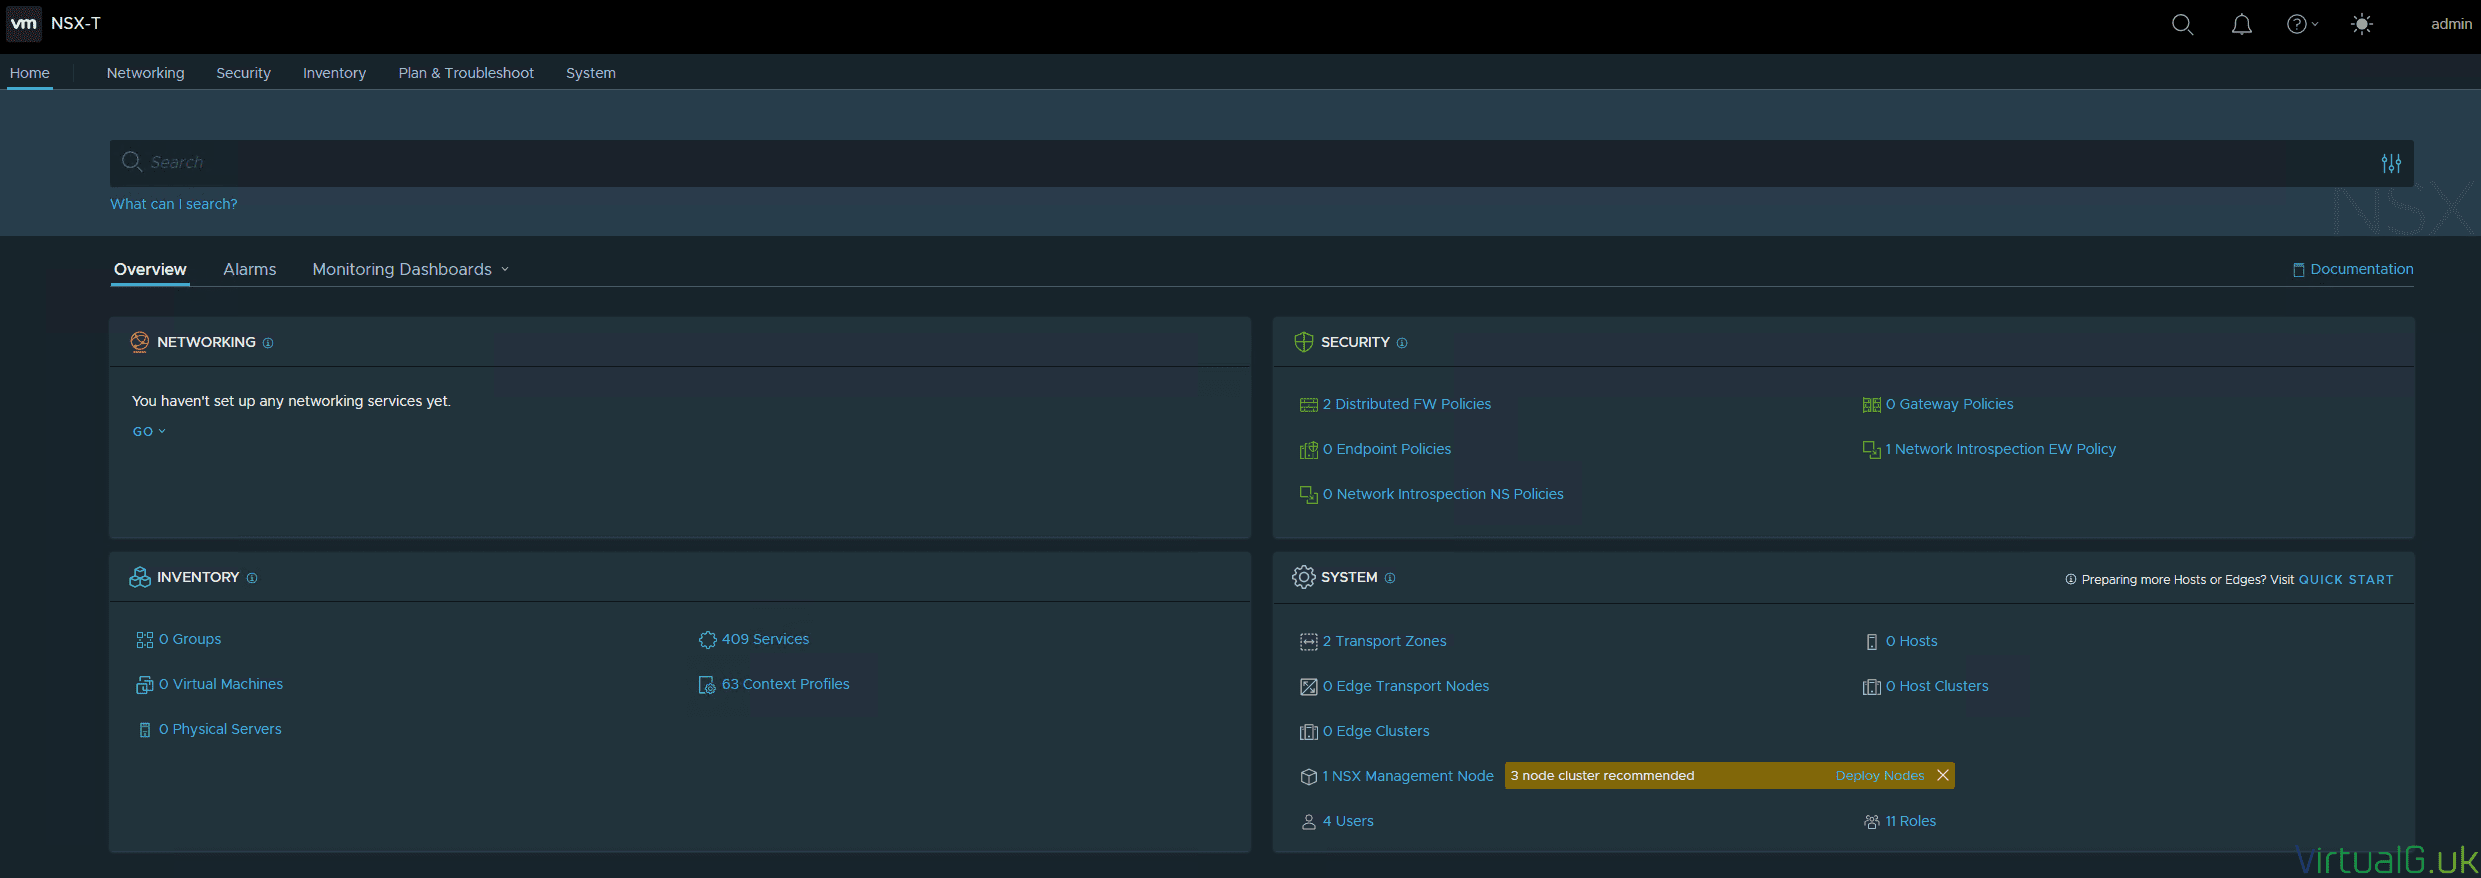
Finally, we are presented with the NSX-T Manager Overview page.
Configure a Compute Manager
With NSX Manager installed, you’ll need a Compute Manager to collect information from vCenter Server.
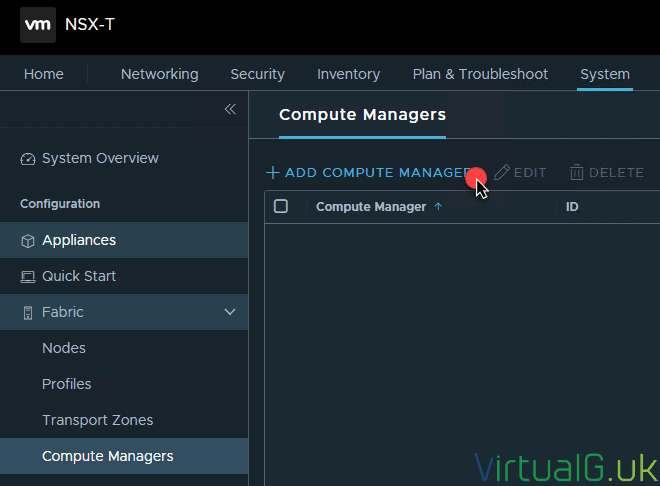
Simply navigate to System > Fabric > Compute Managers
Add a Compute Manager
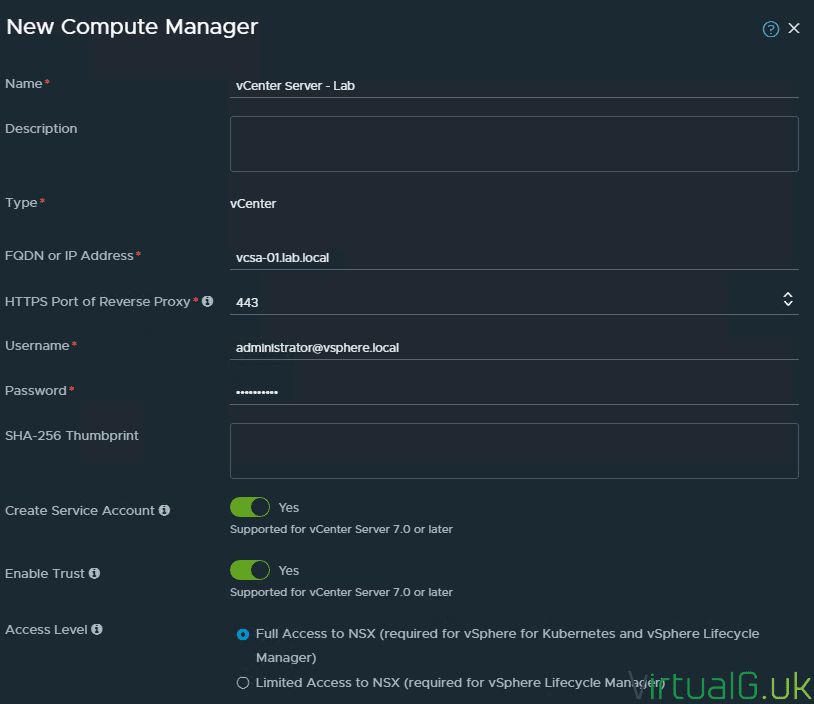
Finally, enter your vCenter Server details.
Add NSX Manager Nodes
For best availability, it’s a good idea to deploy more NSX appliances. NSX clusters the appliances together to ensure the availability of NSX Manager should one appliance go offline.
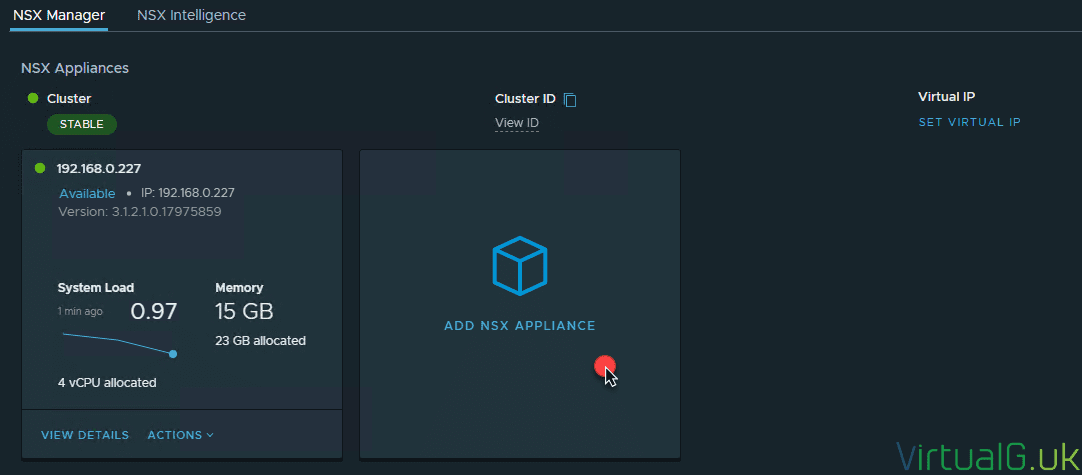
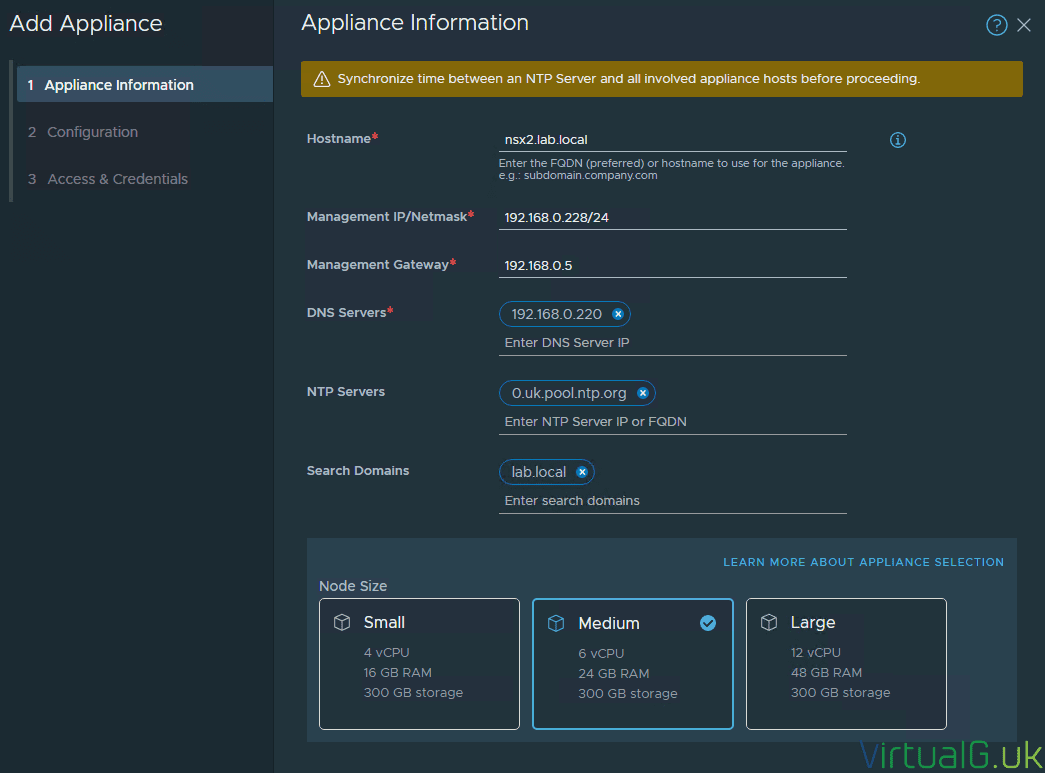
You can configure the additional NSX Appliances from the UI.
System > Appliances > Add NSX Appliance
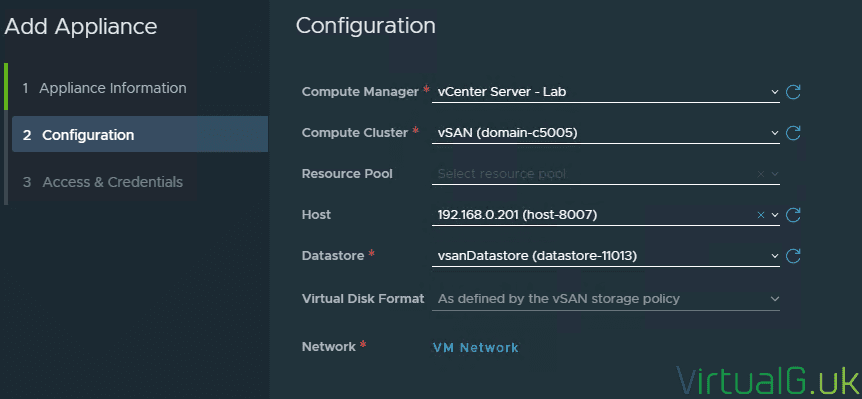
On the next screen select your deployment options and Next to continue.
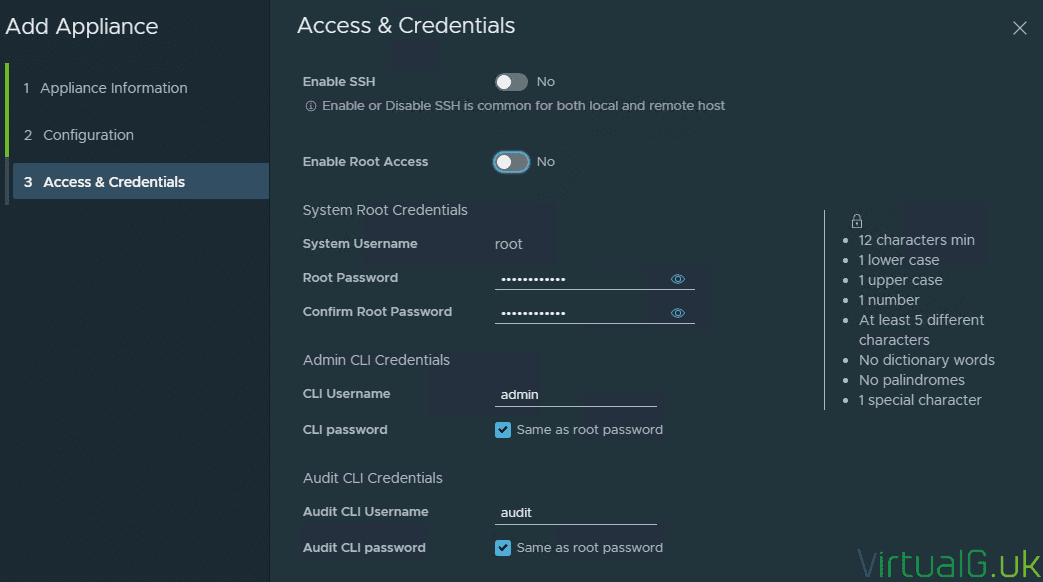
Finally, specify appliance options including passwords.
You’ll recall these options from the 1st NSX Manager deployment.
After deployment of additional NSX Managers, ensure you set a virtual IP via the simple wizard.
Alternatively, you can put the NSX Managers behind a load balancer for better load balancing and faster failover capabilities.
You need 3 NSX Manager appliances for a supported topology.
Snapshots & clones of NSX Manager are not supported. Ensure they are disabled via the
Summary
We’ve successfully deployed our NSX Manager cluster.
Recall that 3 NSX Managers are required for production environments. However, you can install a single appliance in a lab environment if you do not require a supported configuration.
Hopefully, this post is enough to get you started on your NSX-T journey. Next, you’ll need to set up your Transport Zones, Profiles, Host Transport Zones and Edges.
You can find the full NSX-T installation guide for the remaining components here: https://docs.vmware.com/en/VMware-NSX-T-Data-Center/index.html









Good idea about the advanced setting to prevent snapshots of the managers. By the way, you have a little typo. You said cones instead of clones 🙂
Thank you. Fixed 🙂