Contents
In the previous part of this VCF series, we ran through some basic prerequisites and deployed the embedded ESXi hosts.
This is a multi-part post. You can find the index of all the posts here:
Part 1 – Physical ESXi Host Configuration
Part 2 – Deploying the VCF 9 Installer & Offline Depot < You are here
Part 3 – Deploying VCF 9 with the VCF Installer
In this post, we continue the deployment by installing the VMware Cloud Foundation 9 Installer & configuring the offline depot.
Deploying the VCF 9 Installer
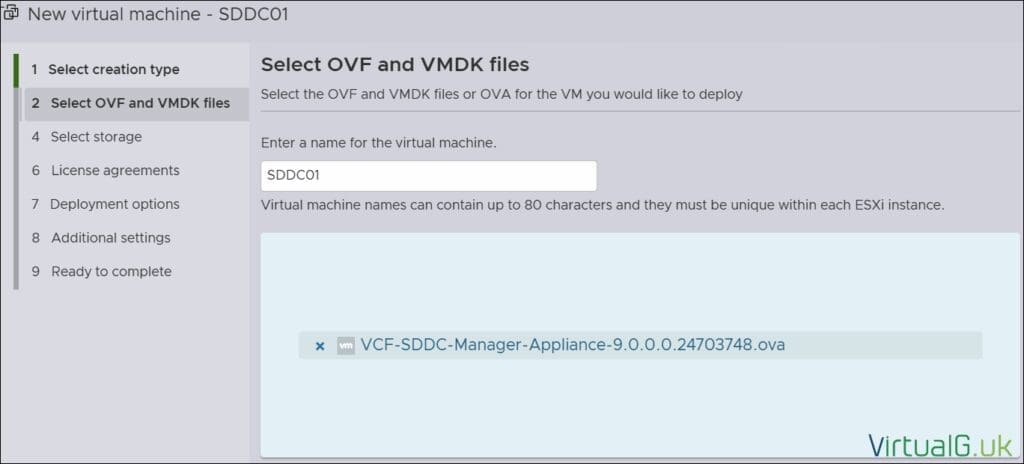
Ensure you have downloaded the VMware Cloud Foundation 9 Installer from the Broadcom portal. The current name of the OVA is VCF-SDDC-Manager-Appliance-9.0.0.0.24703748.ova
Log in to your physical ESXi server and deploy a new VM from OVA
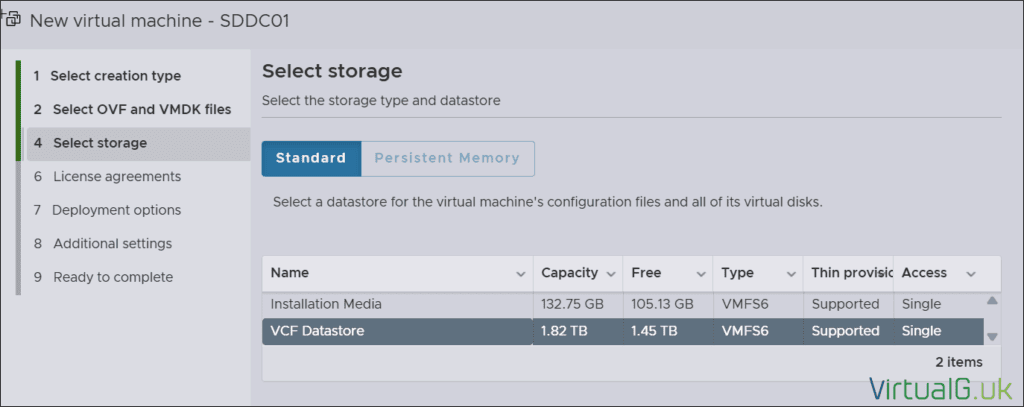
Select a storage location
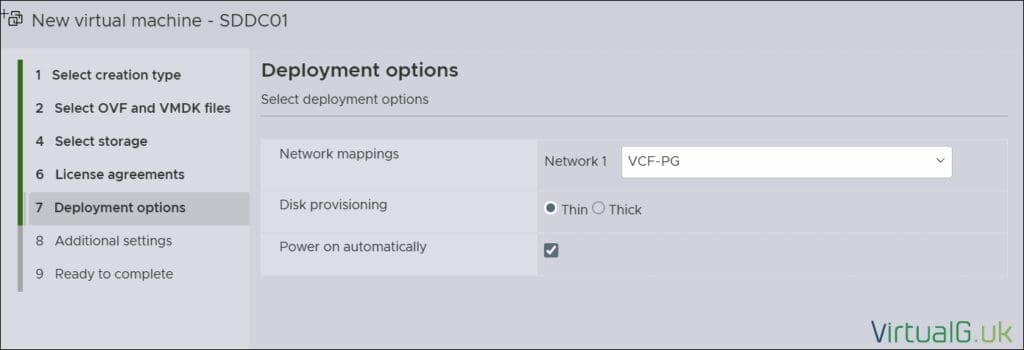
Select deployment options
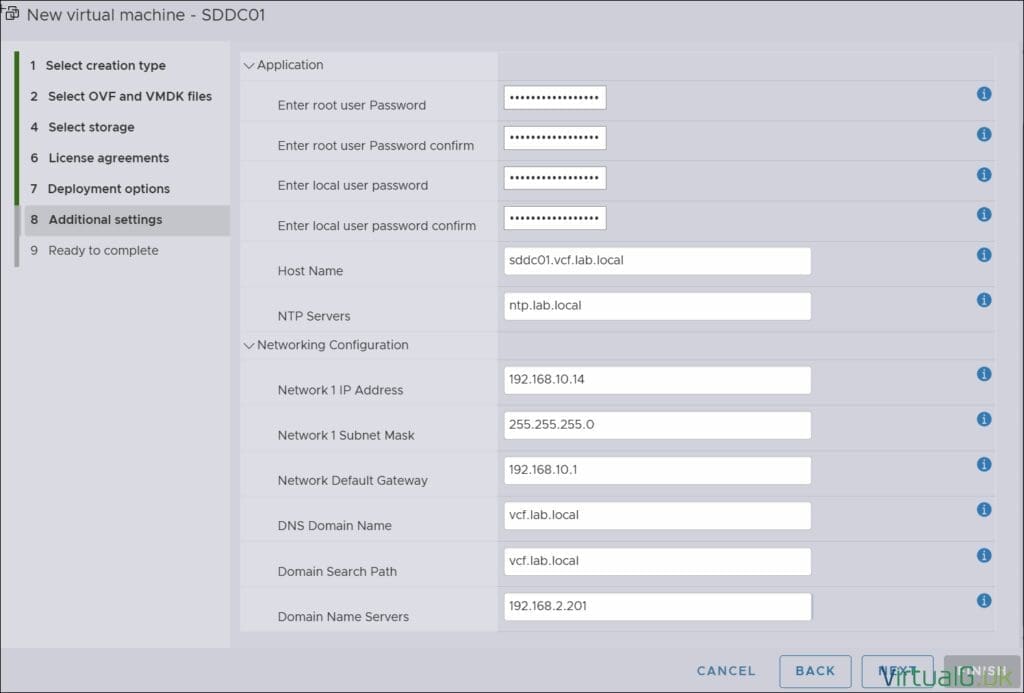
Complete the Application and Networking Configuration
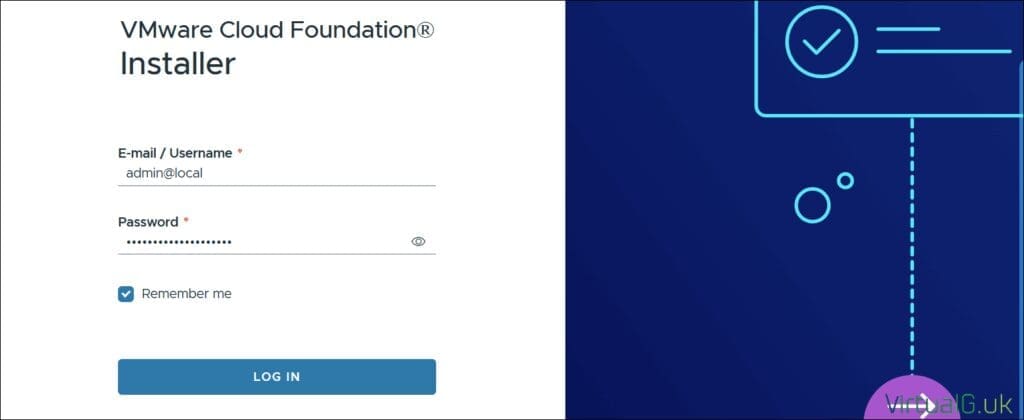
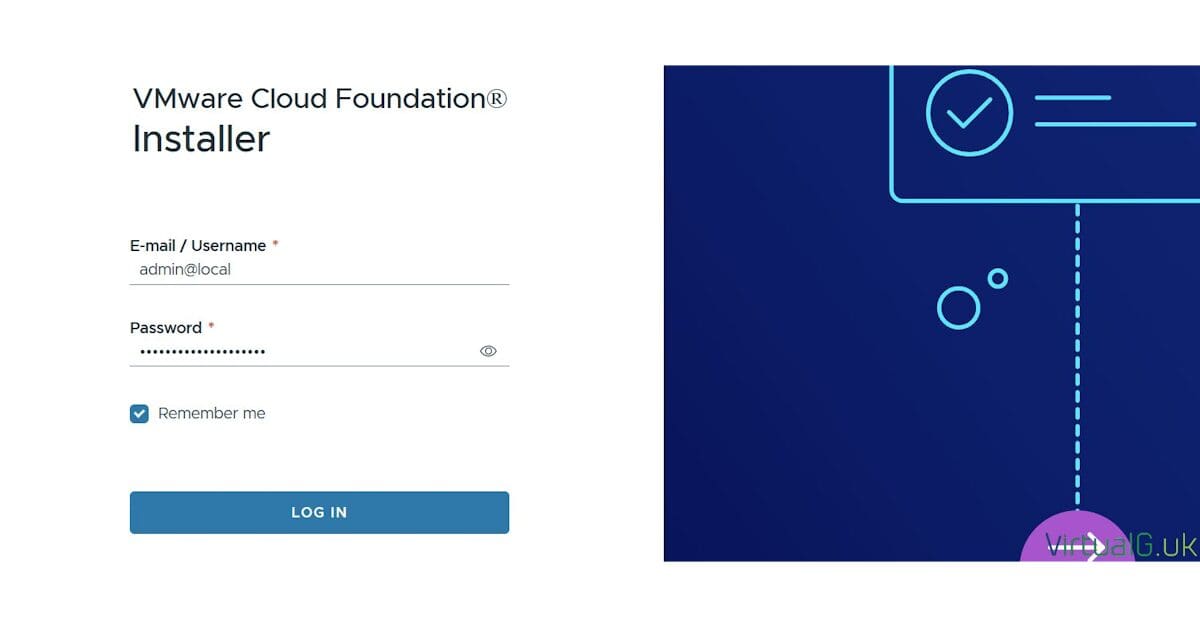
Once deployed, log in with the credentials for the admin@local account you created during deployment.
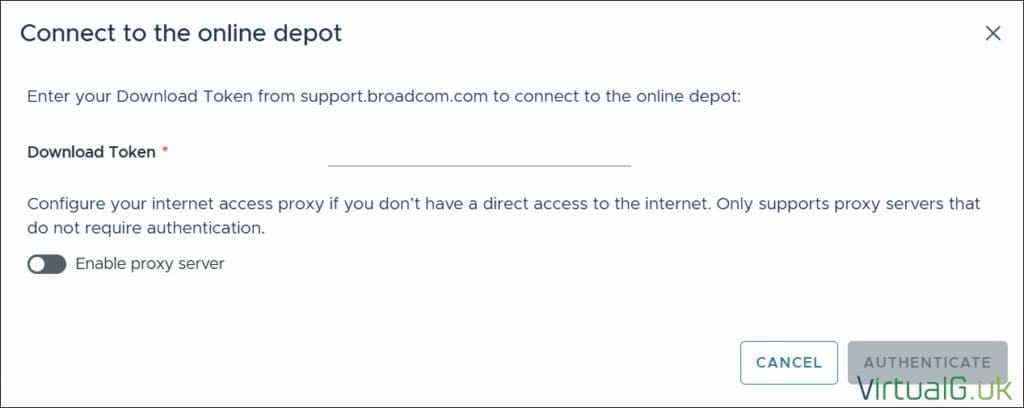
You’ll notice the requirement to set up the Depot connection for downloading the binaries. If you have an active VCf subscription, you can connect to the online depot by supplying a Download token from the Broadcom Portal.
Connect to the VCF 9 Online Depot
If you don’t have a subscription, for example, you are using the VMUG Advantage route, then you need to set up an offline depot. The offline depot is also helpful if your environment doesn’t have internet access.
Set up an offline depot
Create a new folder named ‘VCF’ on your machine.
Download the metadata zip file (vcf-9.0.0.0-offline-depot-metadata.zip) from the Broadom portal and extract it directly to your PC’s vcf folder. You should now have a depot folder directly inside your VCF folder.
Inside the depot folder, you’ll see a bunch of new files and directories. We need to populate these directories with the files we downloaded in the previous post from the Broadcom portal.
You should end up with a directory structure like the one below (Don’t skip any files)
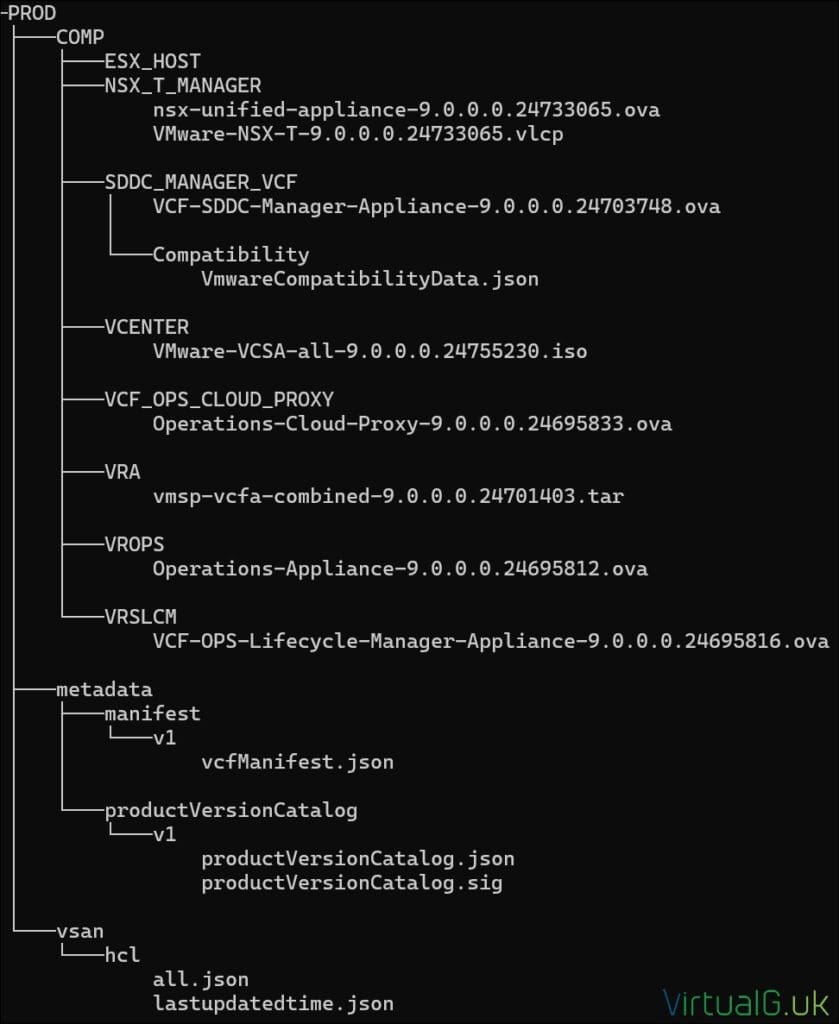
To host this depot, you need to store the files on a web server that supports HTTPS. There are various ways to do this, but the simplest is to use a simple Python script.
- Install Python if you don’t already have it installed.
- Download this https server script from William Lam‘s GitHub (Thanks!)
- Put the http_server_auth.py script into your VCF folder (It is based on William Lam’s script – Thanks!, but updated to work with later versions of Python
- Use the commands from William to generate a SSL certificate and launch the Python HTTPS server:
openssl genpkey -algorithm RSA -out key.pem openssl req -new -key key.pem -out csr.pem -subj "/C=GB/ST=England/L=UK/O=VirtualG/OU=lab/CN=depot.virtualg.local" openssl x509 -req -in csr.pem -signkey key.pem -out cert.crt -days 365

py http_server_auth.py --bind 192.168.1.178 --user vcf --password vcf123! --port 443 --directory depot --certfile cert.crt --keyfile key.pem - Obviously, you’ll need to change the bind IP to the one from which the script runs.
- You will also need to open your firewall on the specified port to allow the VCF Installer to establish a connection.
Once the Python HTTPS server is working, it will look like this:Serving HTTPS on https://192.168.1.178:443
Setting up the offline depot in the VCF 9 Installer
- Log back into the UI of the VCF Installer
- Open the Depot settings
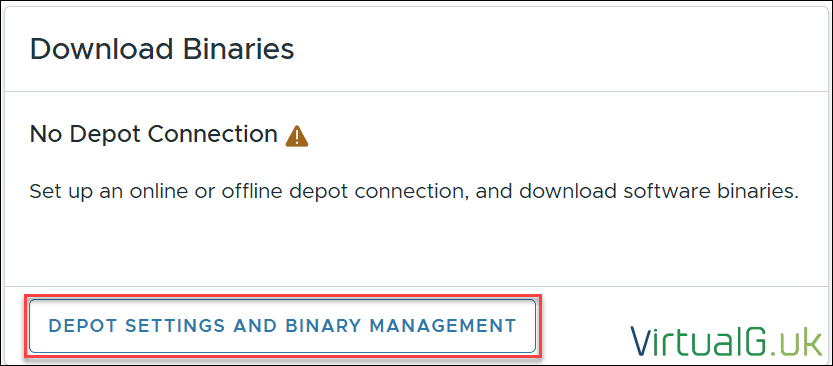
Select the Offline Depot

Configure the depot with the details in the Python command

Update: Some have explained that this throws a Secure Protocol error. A quick fix for this is to use the console to log in to the VCF installer with the root account (SSH is disabled for the root user by default), which you created when deploying the OVA and add the following to the config file:vi /opt/vmware/vcf/lcm/lcm-app/conf/application-prod.properties
Add this line to the end of the config file:lcm.depot.adapter.httpsEnabled=false
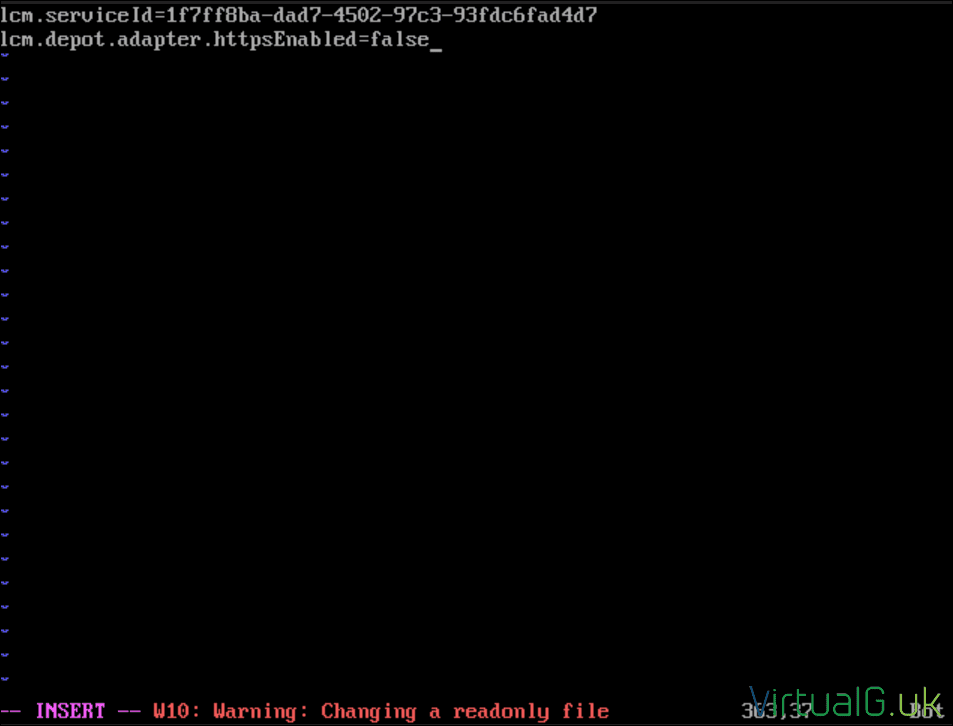
Then restart the lcm service:systemctl restart lcm
You’ll need to change the Python script from the https one to the http one. You can download that here
Run the script from the same directory as before:py -m http_server_auth -u vcf -p vcf123! -d depot -b 192.168.1.178
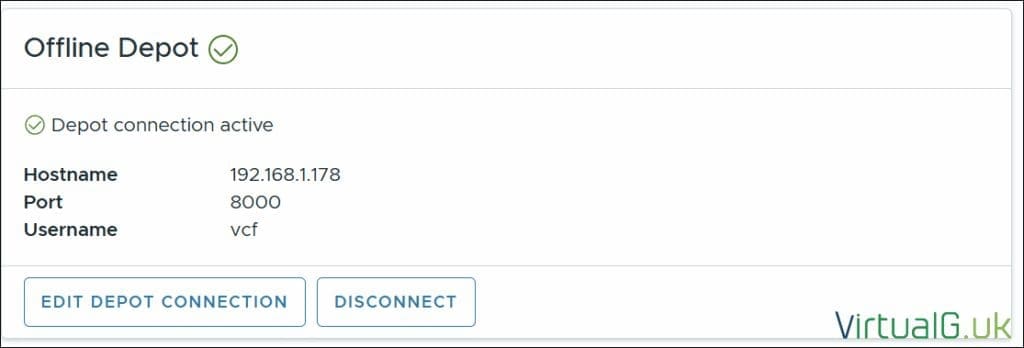
Log back into the VCF installer and reinsert the depot configuration. (Use port 8000)
If everything goes well, the depot should now be configured:
Download the VCF binaries to the VCF Installer
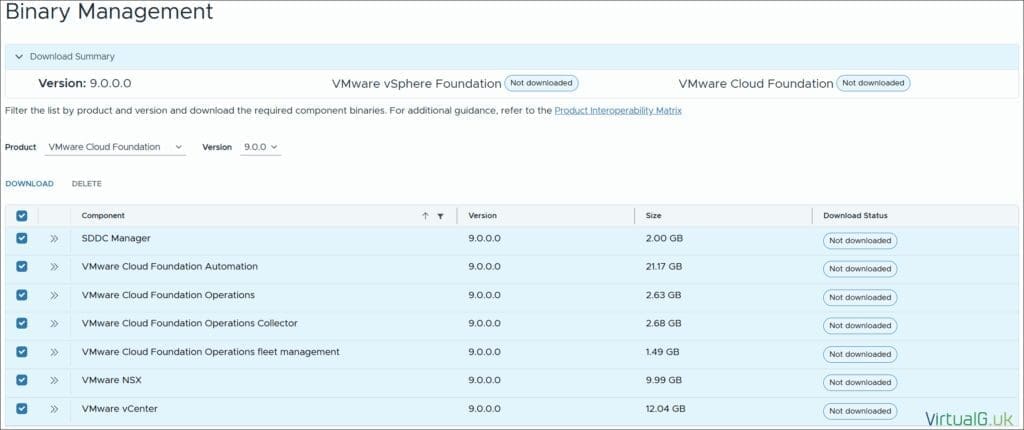
On the VCF Installer, scroll to the bottom of the page and download all the binaries:
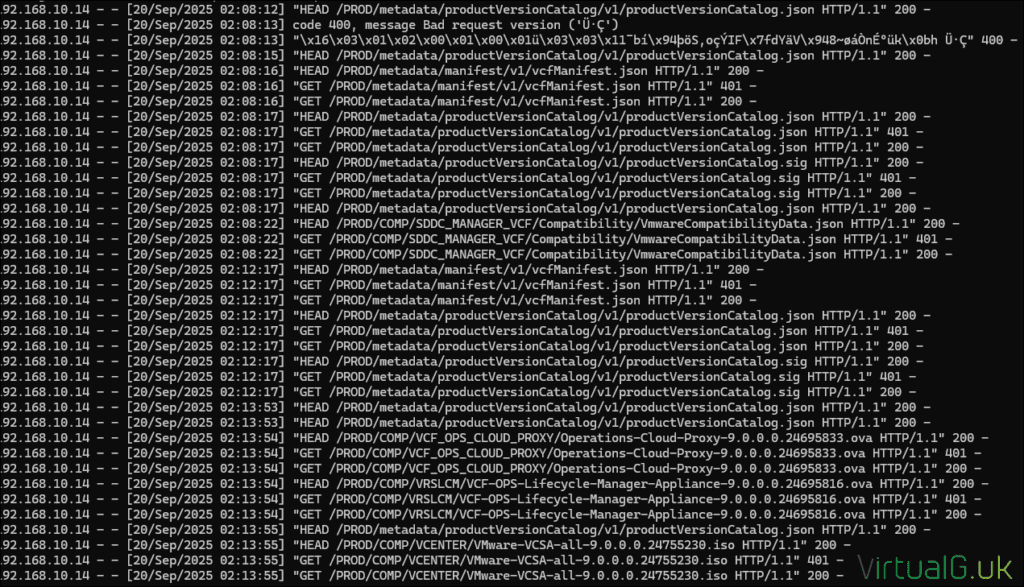
You’ll start to see files being downloaded from the Python server:
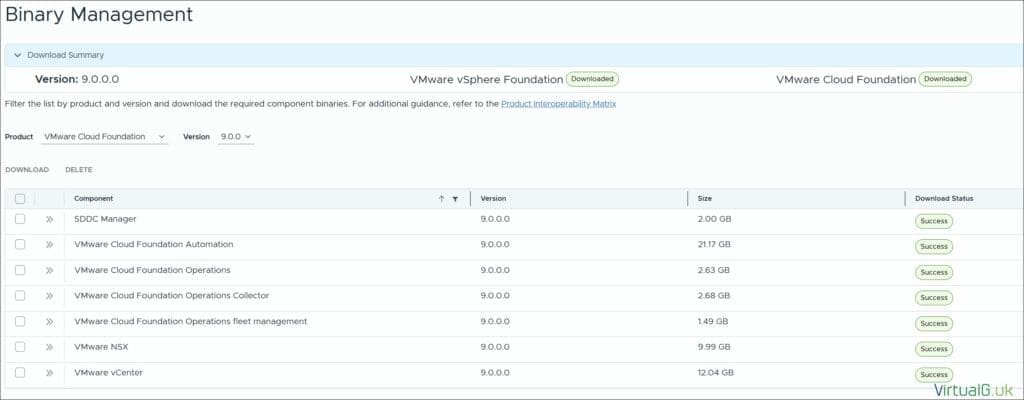
Once all the binaries are downloaded to the VCF 9 Installer, proceed to the next step in the process here: Part 3 – Deploying VCF 9 with the VCF Installer
If you encounter any issues, please drop a comment or find me on X.com, and I’ll do my best to help.






[…] the index of all the posts here:Part 1 – Physical ESXi Host Configuration < You are herePart 2 – Deploying the VCF 9 Installer & Offline DepotPart 3 – Deploying VCF 9 with the VCF […]
[…] We can now proceed with the VCF 9 Deployment Wizard.Part 1 – Physical ESXi Host Configuration Part 2 – Deploying the VCF 9 Installer & Offline Depot Part 3 – Deploying VCF 9 with the VCF Installer < You are […]