Deploying certain OVAs into Workstation has been an issue in the past. Fortunately, the ESXi OVA and vCenter Server OVA now work really well however there are some OVAs that continue to be problematic.
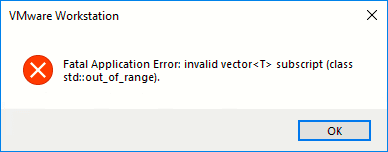
One existing issue is with the new vRealize Operations Manager 7.0 (vROps) OVA file. When deploying this into Workstation 15, I was getting the error: Fatal Application Error: invalid vector<T> subscript (class std::out_of_range)
I spent some time modifying the OVF inside the OVA file to no avail, so I decided to deploy vROps to a virtual instance of ESXi that I had running in my lab and export it for use in Workstation. The process took me about 25 minutes.
Here is how I resolved the issue:
- Deploy the vROps OVA into ESXi
- Connect to vCenter server with the Flash-based vSphere Client
- Right-click the vROps VM and select Template > Export OVF Template
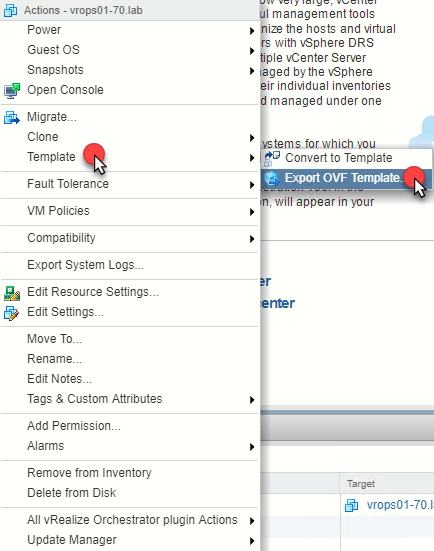
The files for the OVF will start to download. Ensure your pop-up blocker is not blocking any downloads
There will be 5 files in total:
- .mf
- .ovf
- 1.vmdk
- 2.vmdk
- 3.vmdk
- Once they have finished downloading, copy them to the machine running Workstation
- Double click the OVF file and follow the prompts to import it
Once it is imported it will probably boot up automatically, this is fine.
- After it boots open the console and enter:
ALT + F1 - Enter root as the username and don’t specify a password (just hit enter). You will now be prompted for the blank password again and then you can set your own
Some IP settings will no longer be working so we need to put them back in:
- First, we will set the hostname again. To do this run the following command, changing NewHostName with your new hostname (Note, don’t run this command if you have already brought the cluster online)
$VMWARE_PYTHON_BIN /usr/lib/vmware-vcopssuite/utilities/bin/sethostname.py NewHostName
- Next we need to set the static IP address by editing the ifcfg-eth0 file:
vi /etc/sysconfig/network/ifcfg-eth0
- Press
Ito go into insert mode - You need to change the BOOTPROTO line to:
BOOTPROTO=static - Then add a new line, changing youripaddress and yourmask as required:
IPADDR=youripaddress/yourmask - Your file should look something like this:
DEVICE=eth0

BOOTPROTO=static

IPADDR=192.168.100.100/24

STARTMODE=auto
- Now type
:wqto write to changes and quit - Reboot the VM
reboot
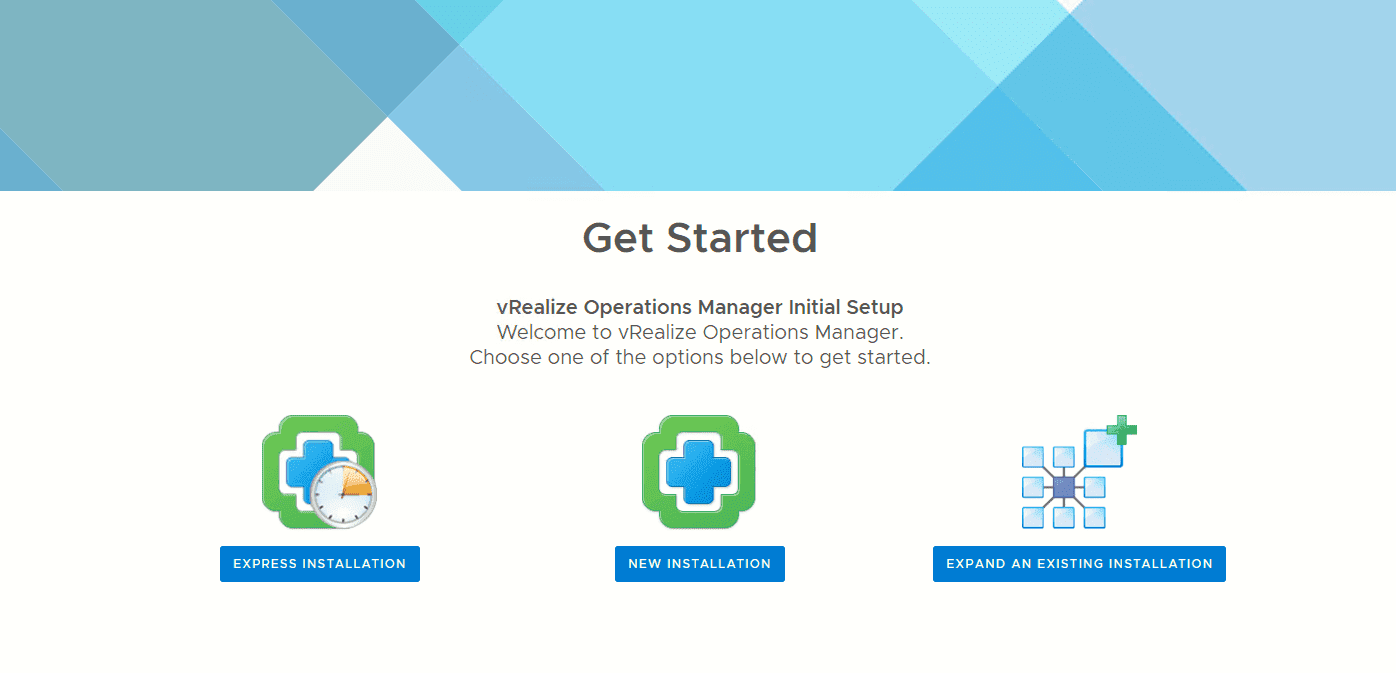
- Once the VM is back online, you should be able to connect to the admin interface to begin configuration
https://ipaddress/admin

If anyone has a more elegant workaround, such as working out what to change in the OVF file, please let me know!

